Reeses Peanut Butter Bars
August 2, 2020
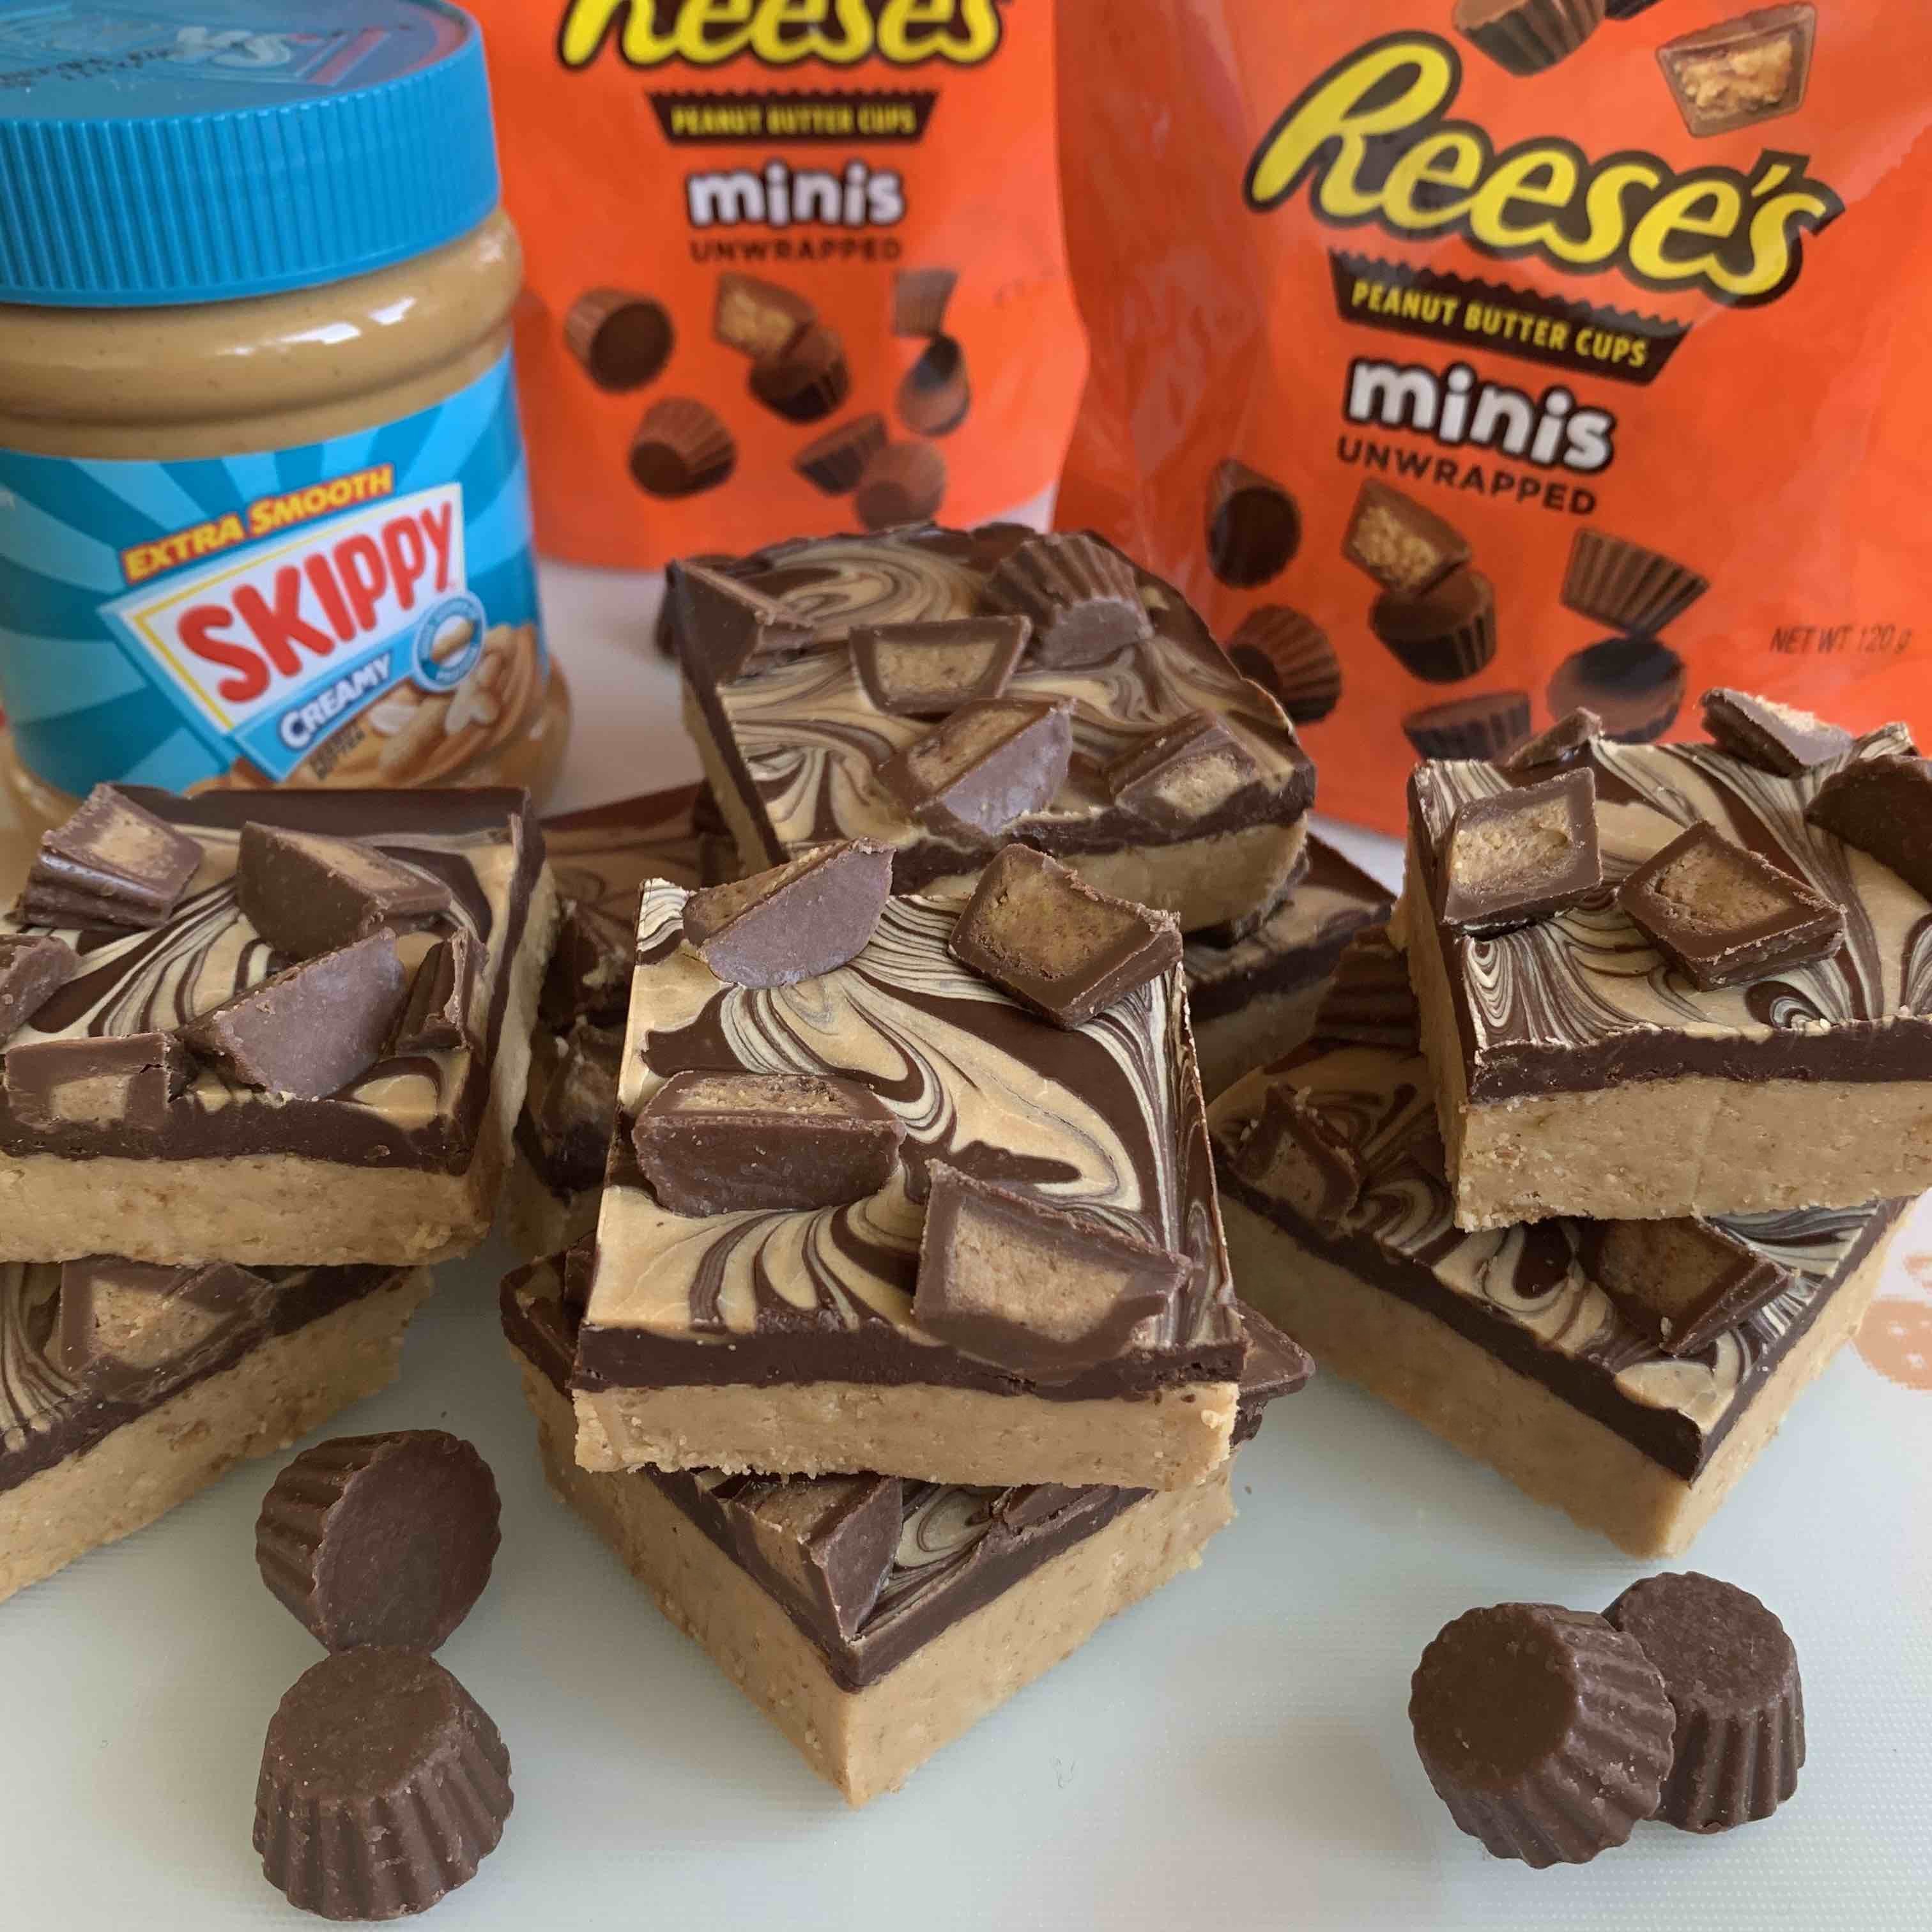
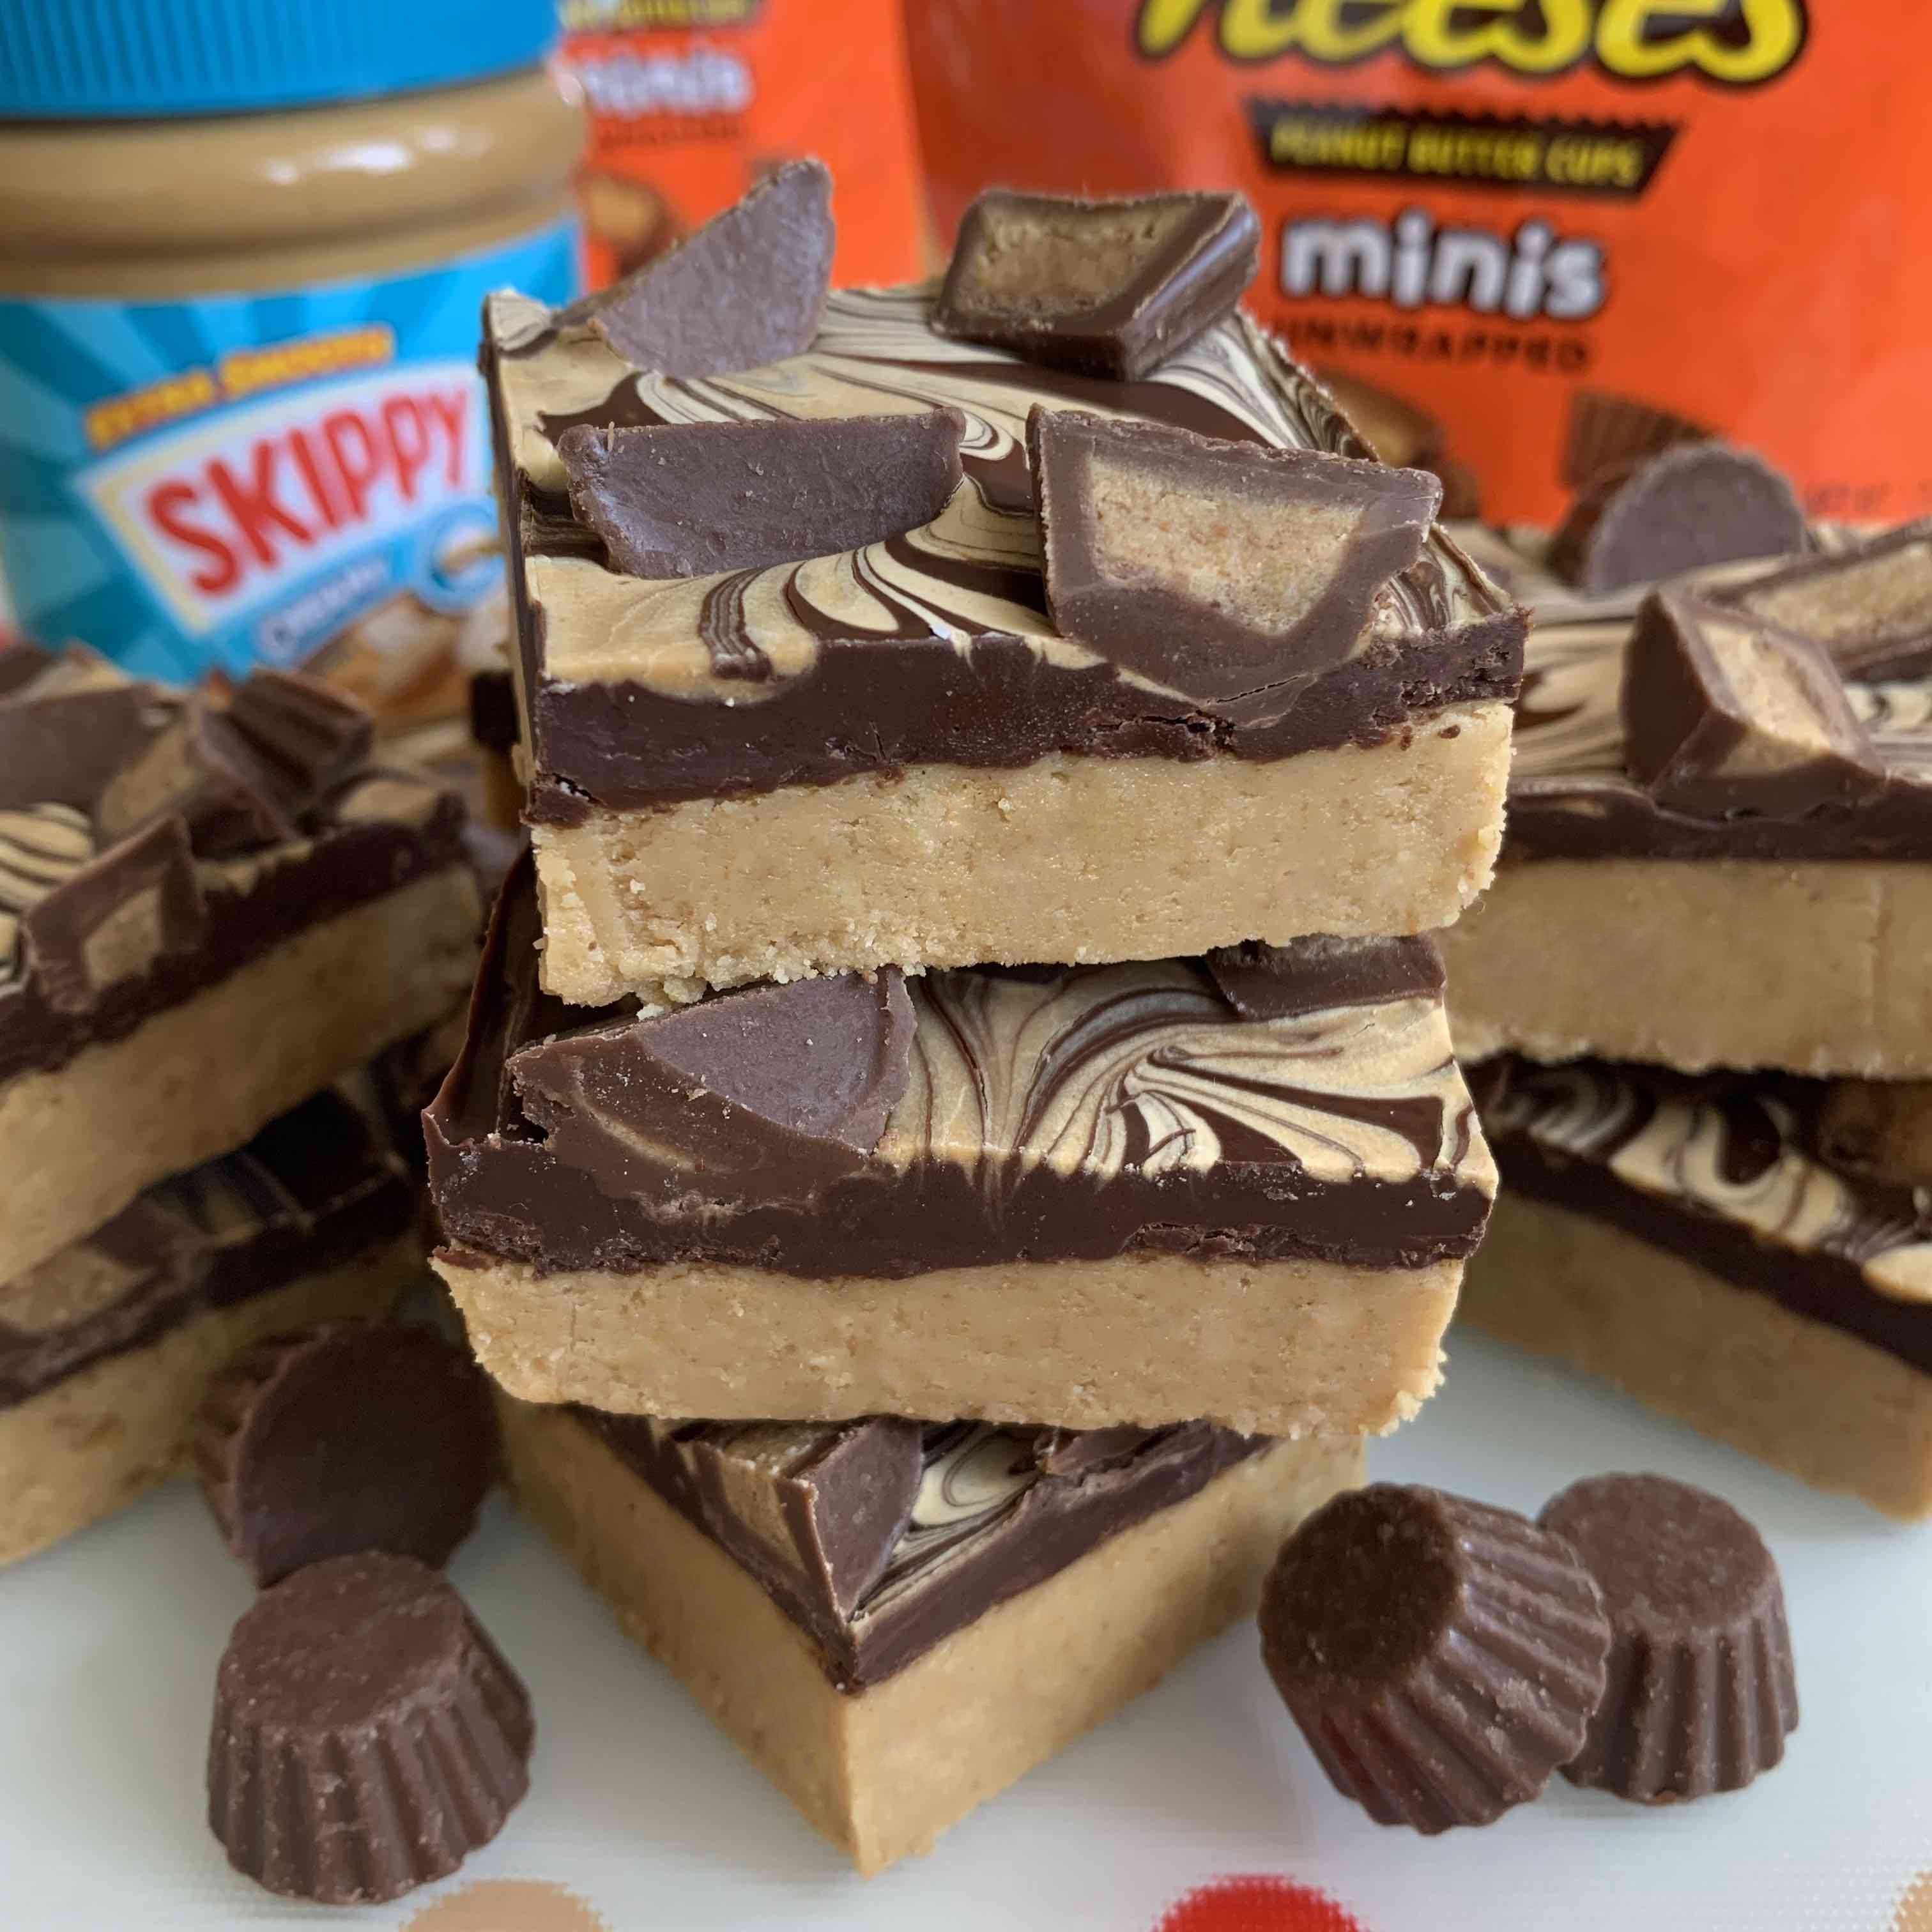
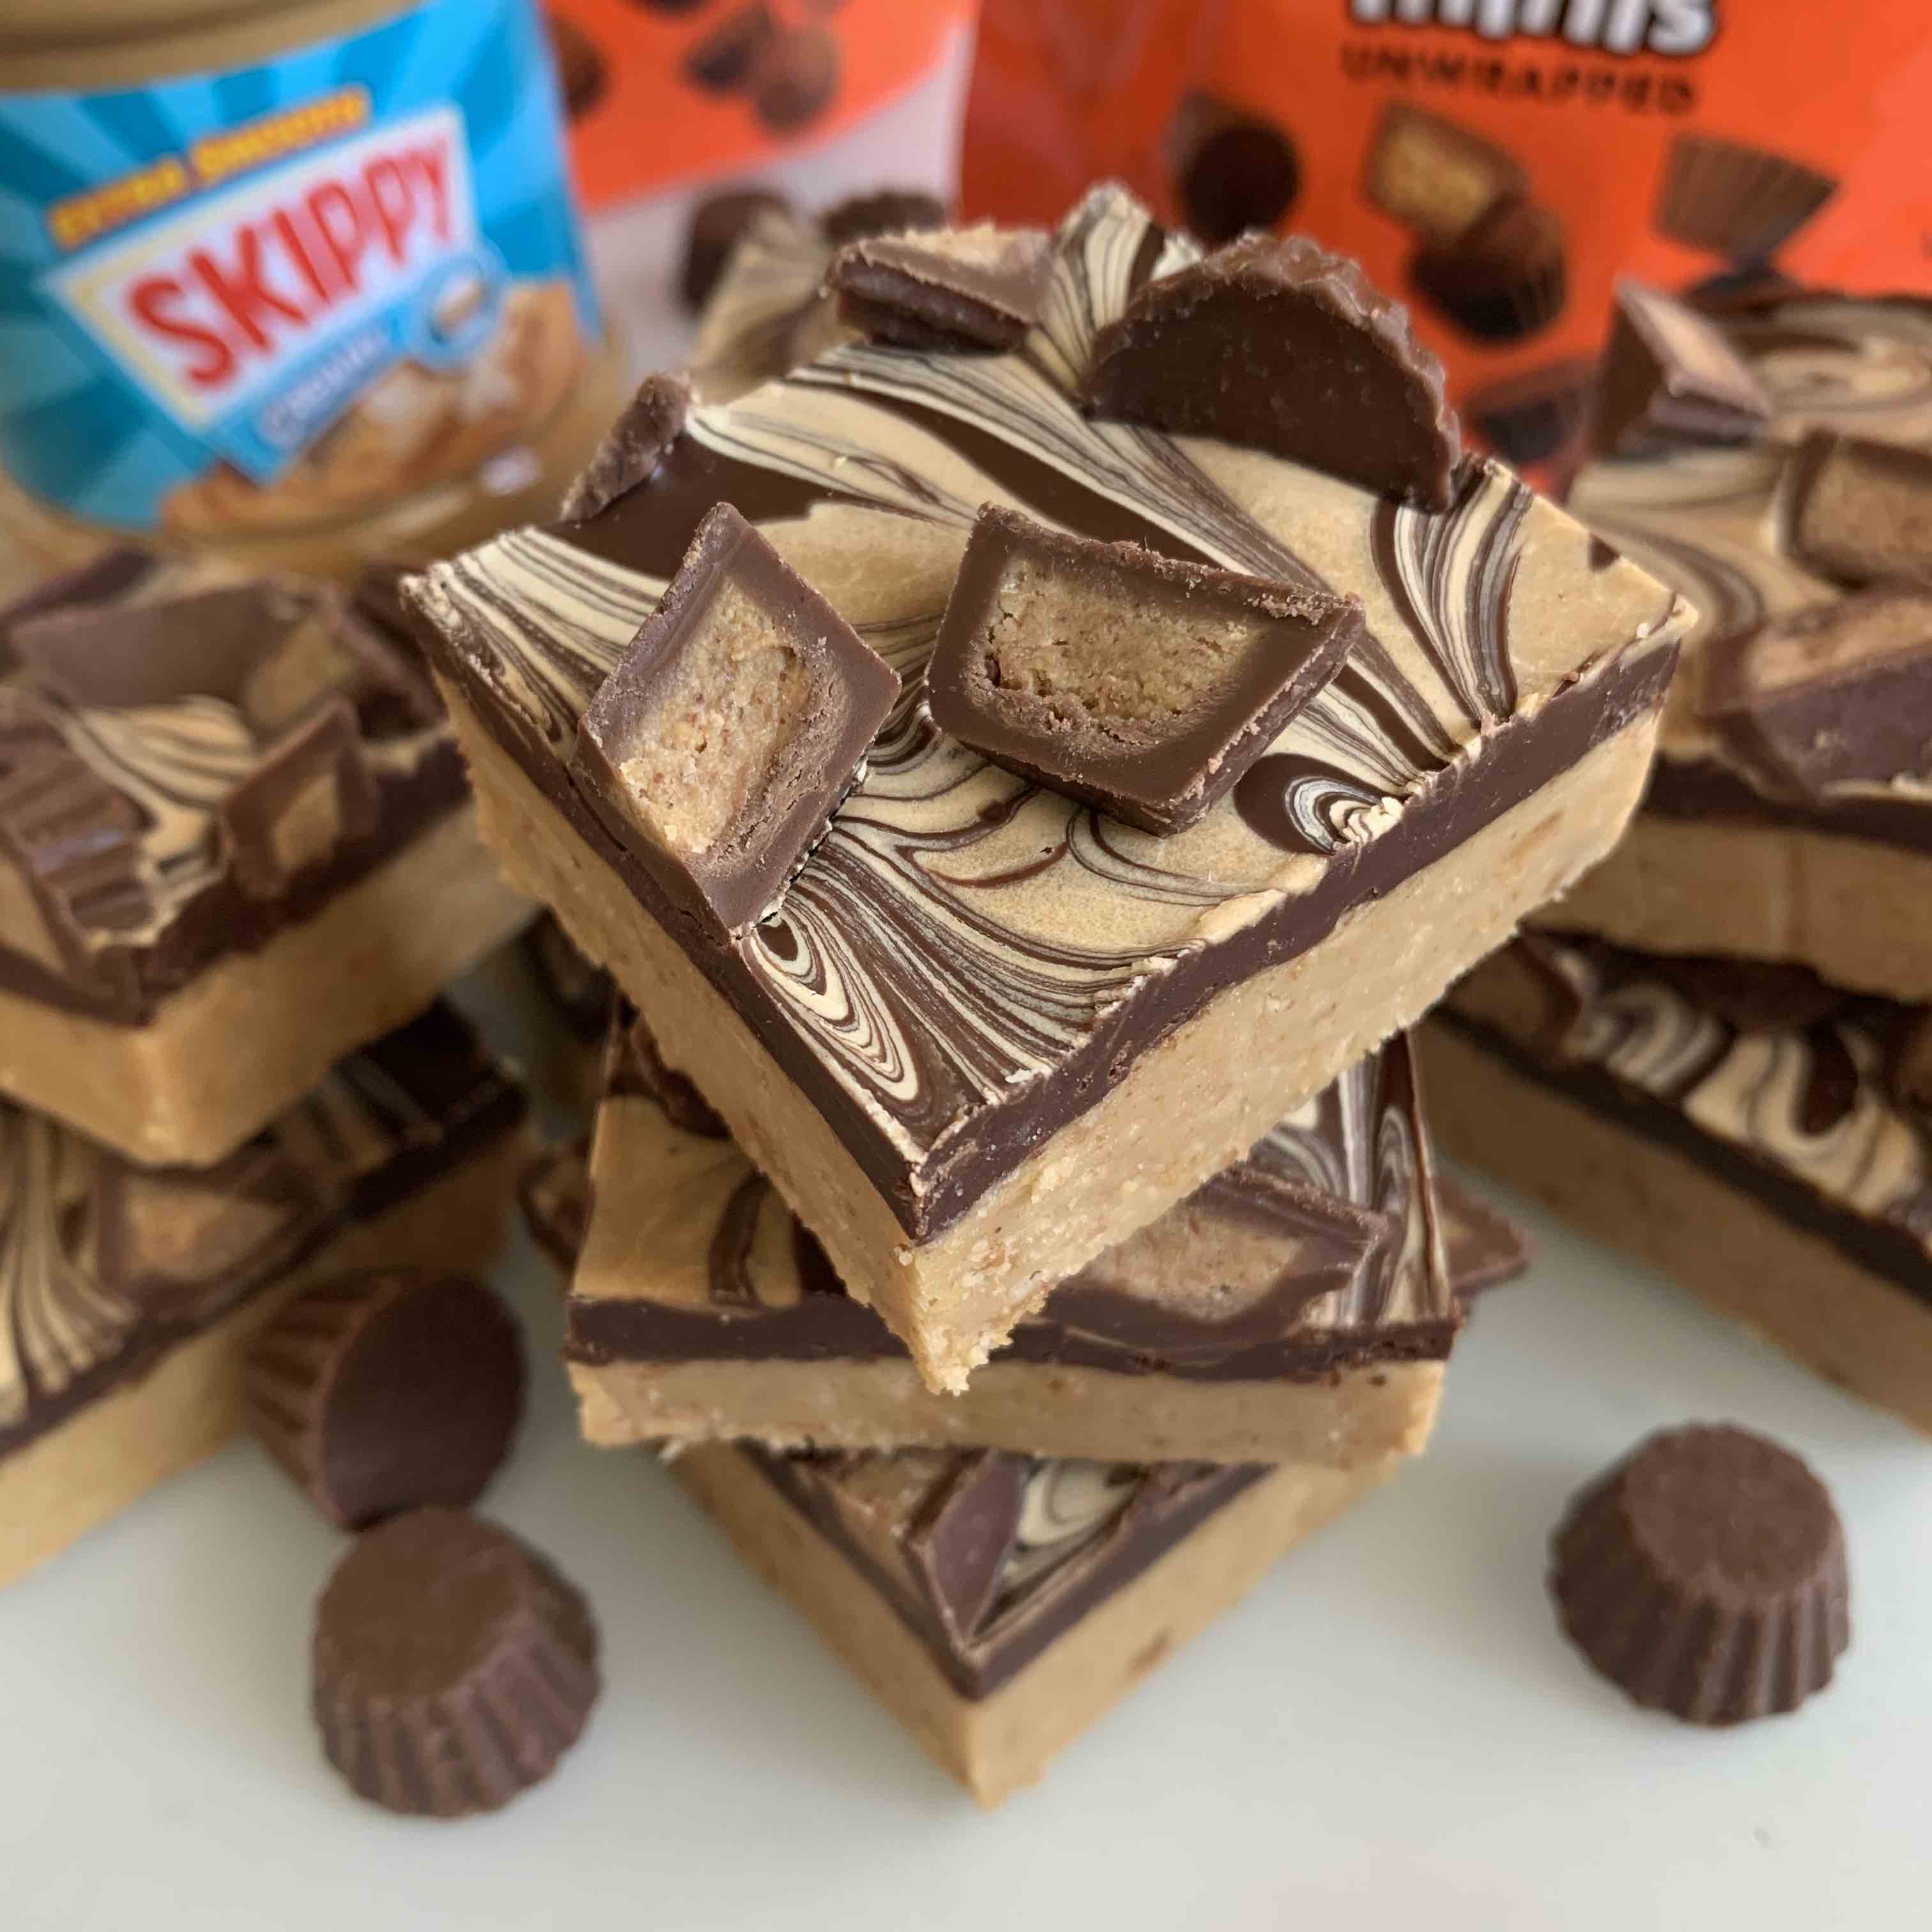
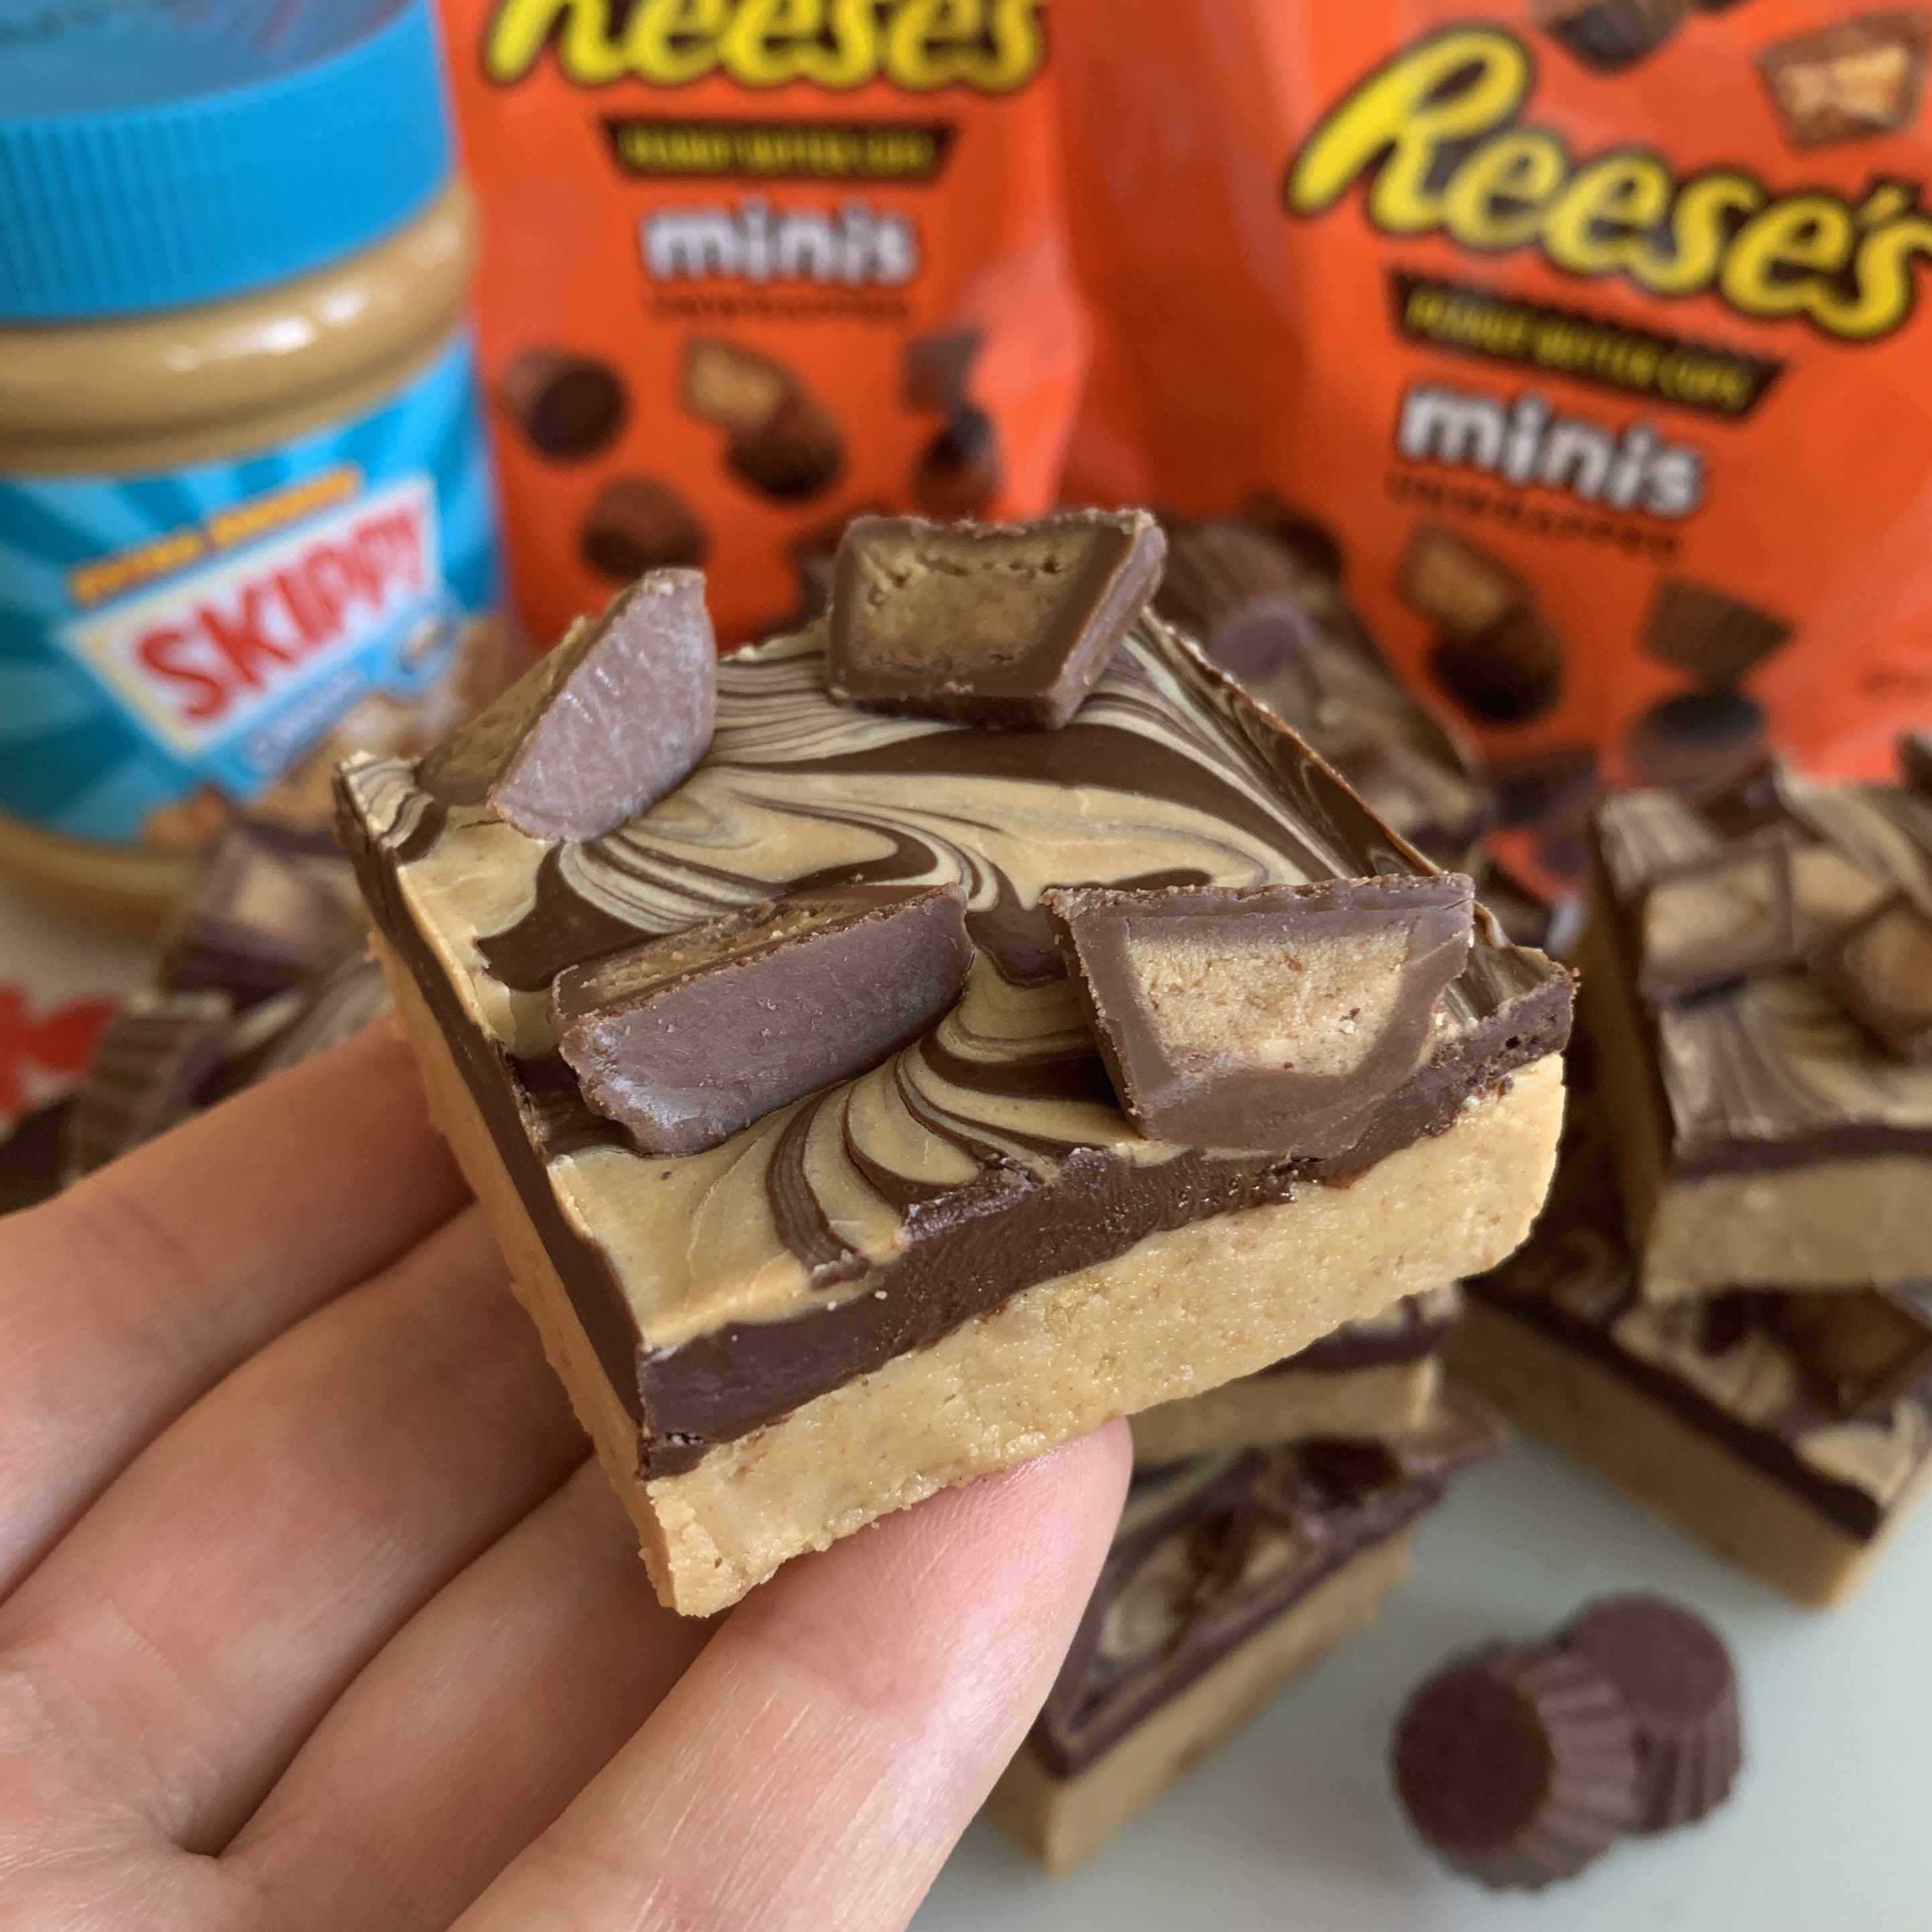
This easy no-bake is a peanut butter lovers dream. A sweet peanut butter bar (think the inside of a reeses peanut butter cup) topped with a layer of chocolate and peanut butter, and a scattering of cute peanut butter cups for decoration!

Reeses Peanut Butter Bars
August 2, 2020
Difficulty
Time 30 minutes (plus 1-2 hours cooling time)
Servings 16
- 9"x9" Tin
- Parchment Paper
- Sharp Knife (to cut the Reese's Peanut Butter Cups Minis)
- Sandwich/freezer bag
- Rolling Pin / Something for crushing the digestives!
- Large Bowl
- Spoon or Spatula
- Microwaveable Bowl / Jug
- Cake Skewer / Butter Knife
- For the Peanut Butter Layer
- 125g Digestive Biscuits
- 125g Unsalted Butter
- 250g Smooth Peanut Butter
- 200g Icing Sugar
- For the Topping and Decoration
- 200g Chocolate (I used 150g dark and 50g milk)
- 80g Smooth Peanut Butter (30g to mix in with the chocolate + 50g for the swirl)
- 120g (*see notes) Reese's Peanut Butter Cups Minis
- For the Peanut Butter Layer
- Grease and line a 9"x9 baking tin. Cut the reeses minis in half and set aside.
- Crush the digestive biscuits in a sandwich/freezer bag using a rolling pin, or use a food processor if you have one! Once the biscuits have formed a fine crumb add them to a large bowl along with the icing sugar and stir to disperse the ingredients. Set aside.
- Microwave the butter and peanut butter in 10 second bursts in a microwave safe bowl/jug until smooth and fully melted. Once melted, pour in to the digestive biscuit and icing sugar mix and stir until combined and no large pockets of butter remain.
- Press and smooth out the peanut butter mixture in to lined baking tin. Chill in the fridge for 30 minutes.
- For Topping and Decoration
- Microwave your chocolate in 10-20 second bursts in a microwave proof bowl/jug until smooth. Stir in 30g of peanut butter and then pour on top of the peanut butter layer. Smooth out to form an even surface (giving the tin a little shake on a flat surface helps!).
- Microwave the remaining 50g of peanut butter for 10 seconds to loosen it up a little. Spoon dollops on top of the chocolate layer, and then use a cake skewer or knife to swirl the peanut butter to make a pretty pattern!
- Scatter the chopped reeses minis on top and gently press down to help them stick.
- Chill in the fridge until fully set before cutting in to pieces (this should take 1-2 hours). Enjoy!
- - Store your Reeses Peanut Butter Bars in the fridge where they will last for 2+ weeks.
- - The decorative reeses are completely optional! I used one 120g pouch, which I bought from Tesco in July 2020, however I've since seen smaller 90g pouches in supermarkets, which would also be fine!
- - As with the decorative reeses, the peanut butter swirl is completely optional too, I just think it looks pretty!
- - More or less chocolate can be added to the topping depending on your desired thickness.
- *I earn a small amount of money if you buy the products after clicking the links. You will not be charged extra for this. Thank you for your support!
Equipment
Ingredients
Method
Notes
Recommended Equipment and Ingredients*