Creme Egg Stuffed Cookies
March 19, 2022
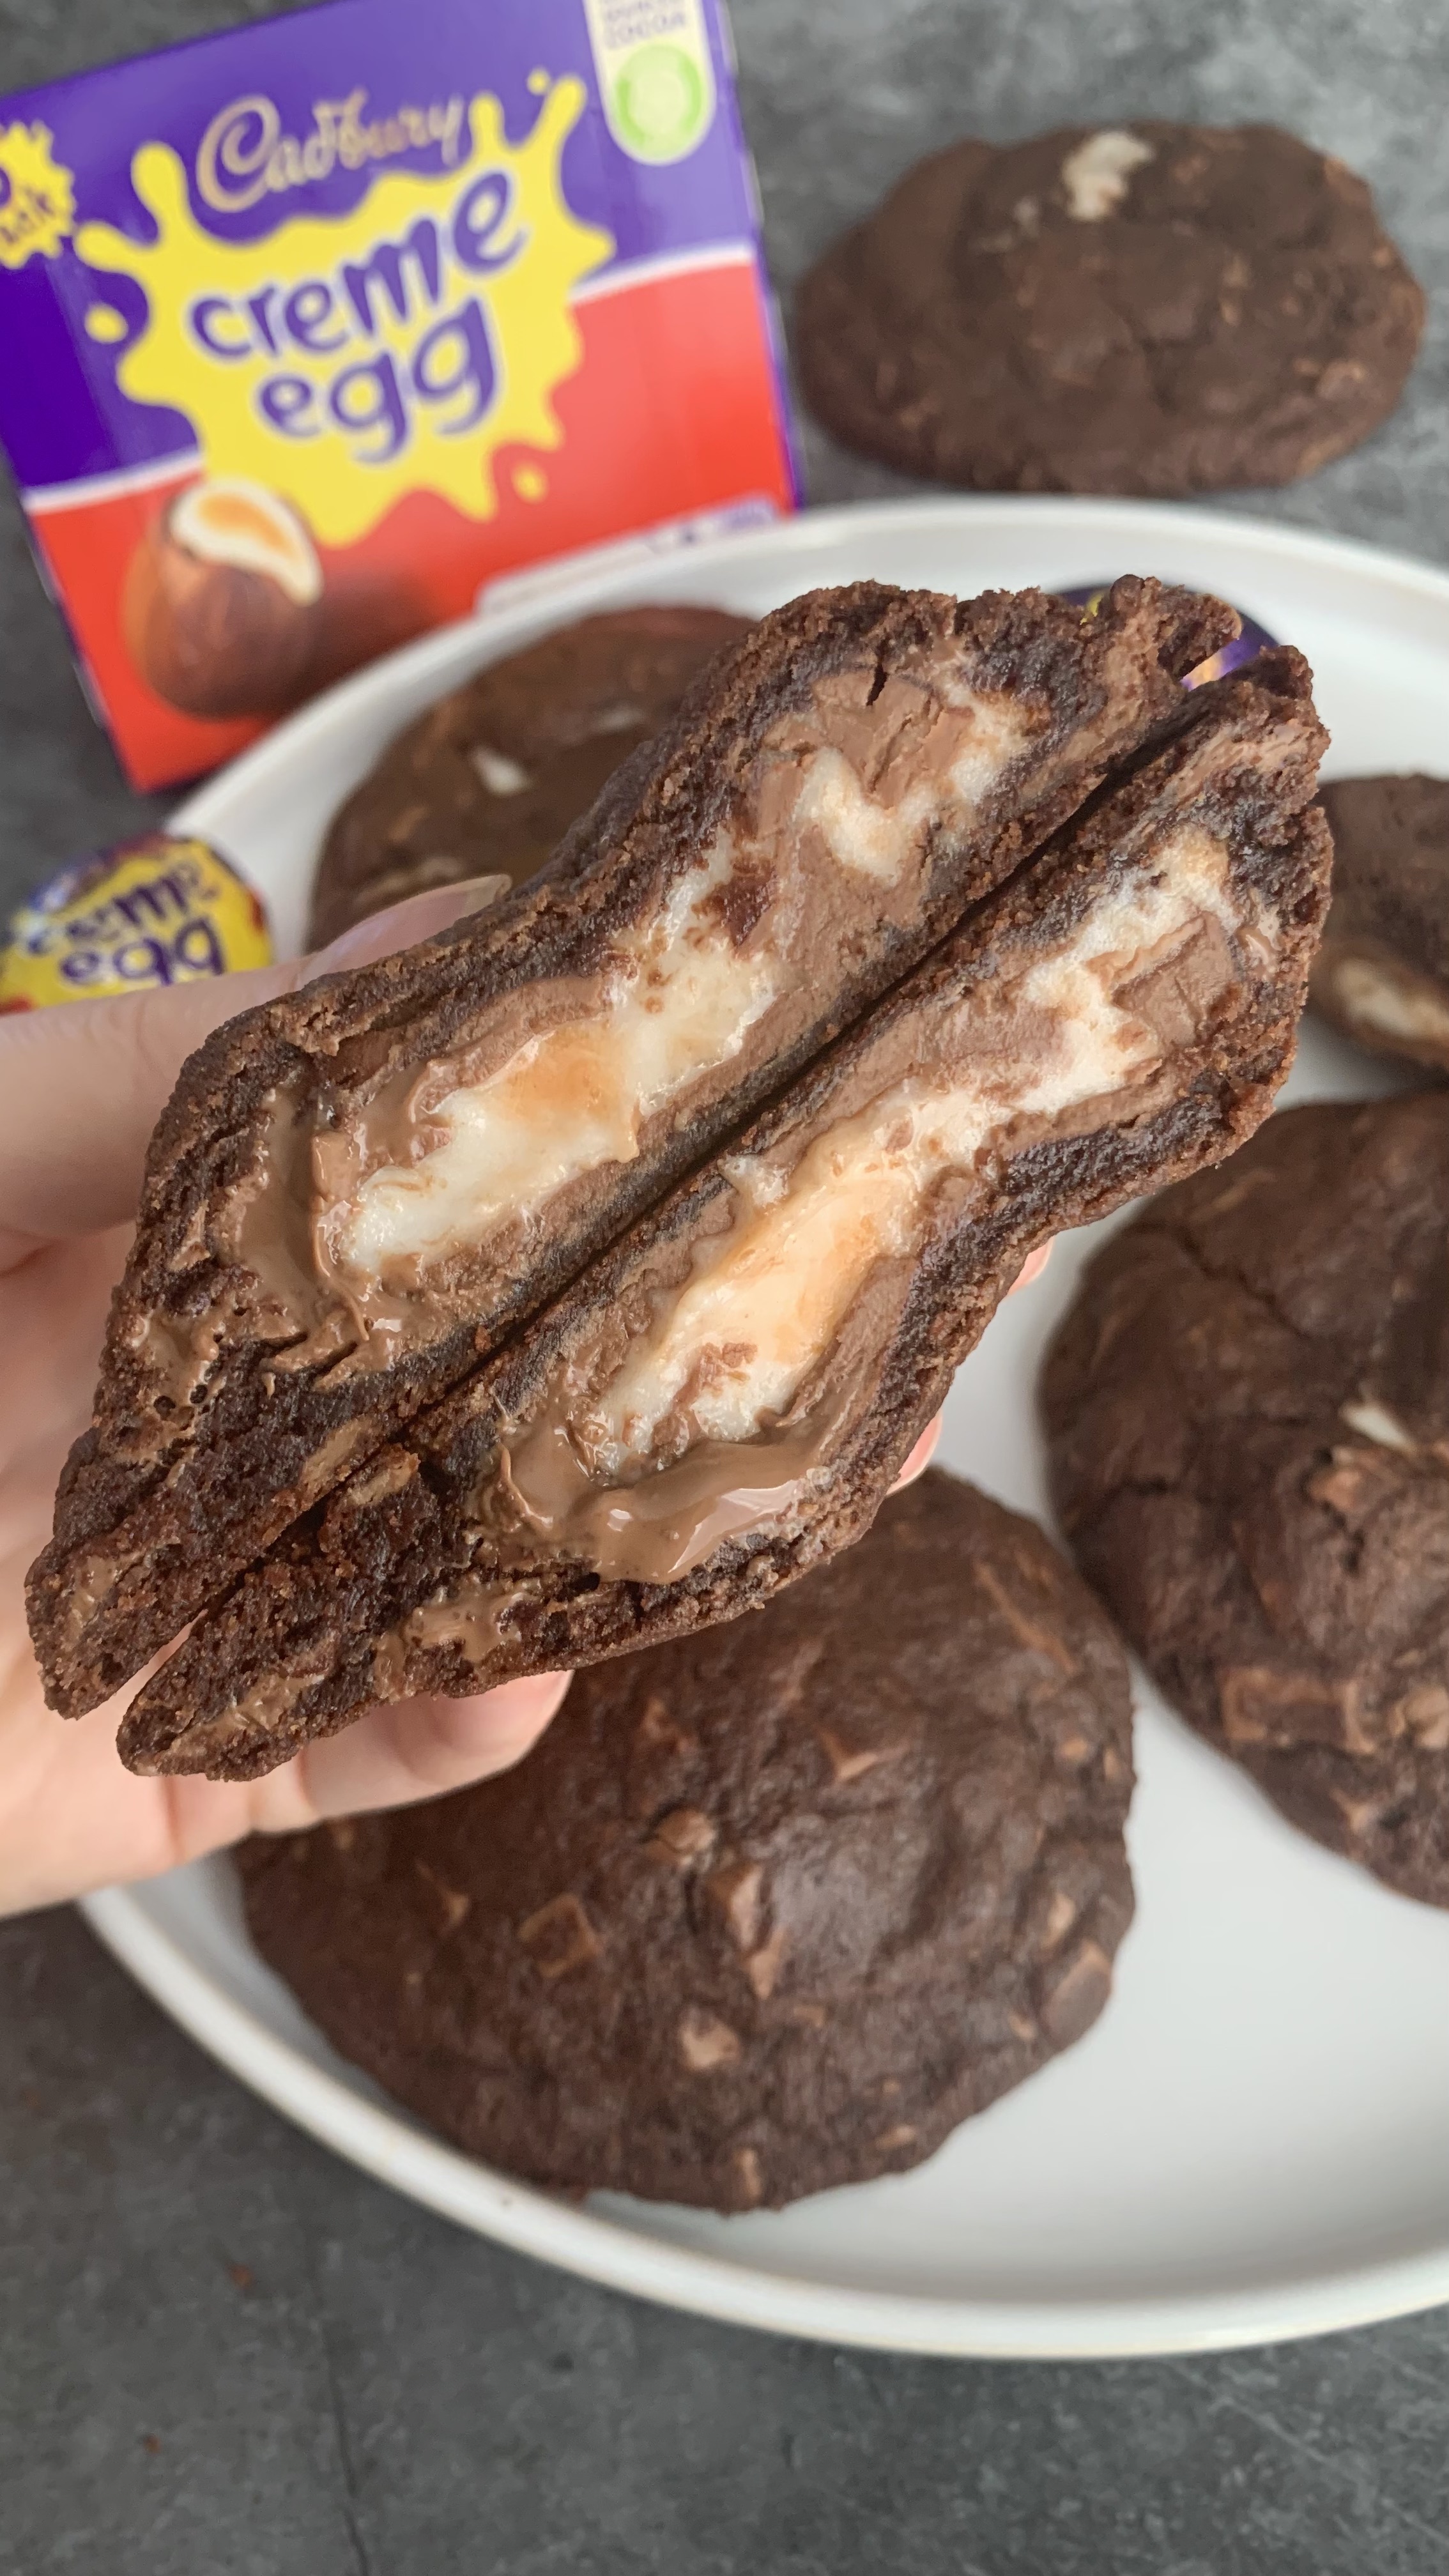
Yummy chocolate cookies encasing an entire gooey creme egg.


Creme Egg Stuffed Cookies
March 19, 2022
Difficulty
Time 1 hour
Servings 6 giant cookies!
- 110g Unsalted Butter, room temperature
- 75g Soft Light Brown Sugar
- 1.5 tablespoon Golden Syrup
- 15g Cornflour
- 150g Self Raising Flour
- 25g Cocoa Powder
- 1.5 tablespoons Milk (I used Semi-Skimmed)
- 100g Milk Chocolate Bar, finely chopped
- 6 Creme Eggs, frozen
- Line two baking trays with parchment paper. Finely chop your milk chocolate bar and put the Creme Eggs in the freezer.
- Cream the butter and sugar together until light and fluffy.
- Stir in the golden syrup, self raising flour, cocoa powder, cornflour, and milk chocolate.
- Add milk to loosen the mixture - make sure you stir really well before adding more milk in as a little goes a long way. You should have a firm cookie dough.
- Roll 6 even portions of mixture in to balls using your hands, flatten, place a frozen creme egg in the centre, and then use your hands to wrap the cookie dough around, fully encasing the creme egg. Place the rolled cookies on a lined baking tray and press down softly to flatten a little. Put the cookie dough in the fridge for 15+ minutes to chill.
- While the cookies are chilling pre-heat your oven to 180C (350F) standard / 160C (320F) fan. Bake the cookies for 12-13 minutes (I cook one batch at a time, as they bake better this way in my oven!). Allow the cookies to cool on the trays for a couple of minutes and let them to firm up a bit, then transfer them to a cooling rack. Enjoy!
- - These cookies are best eaten fresh on the day they're made, however they will keep well for 3-4 days in an airtight container at room temperature.
- - Cornflour alternative: If you don't have cornflour, an additional 15g of Self Raising Flour can be used!
- - Don't place the cookies too close together on the baking tray, or you'll end up with one giant cookie.
- - These cookies can be made ahead of time. Keep the uncooked dough in the fridge or freezer until they're ready to be baked. You may need to add an extra minute or two on to the baking time listed in the recipe to account for the chill!
- *I earn a small amount of money if you buy the products after clicking the links. You will not be charged extra for this. Thank you for your support!
Ingredients
Method
Notes
Recommended Equipment and Ingredients*


