Biscoff Cheesecake Pots
August 20, 2022
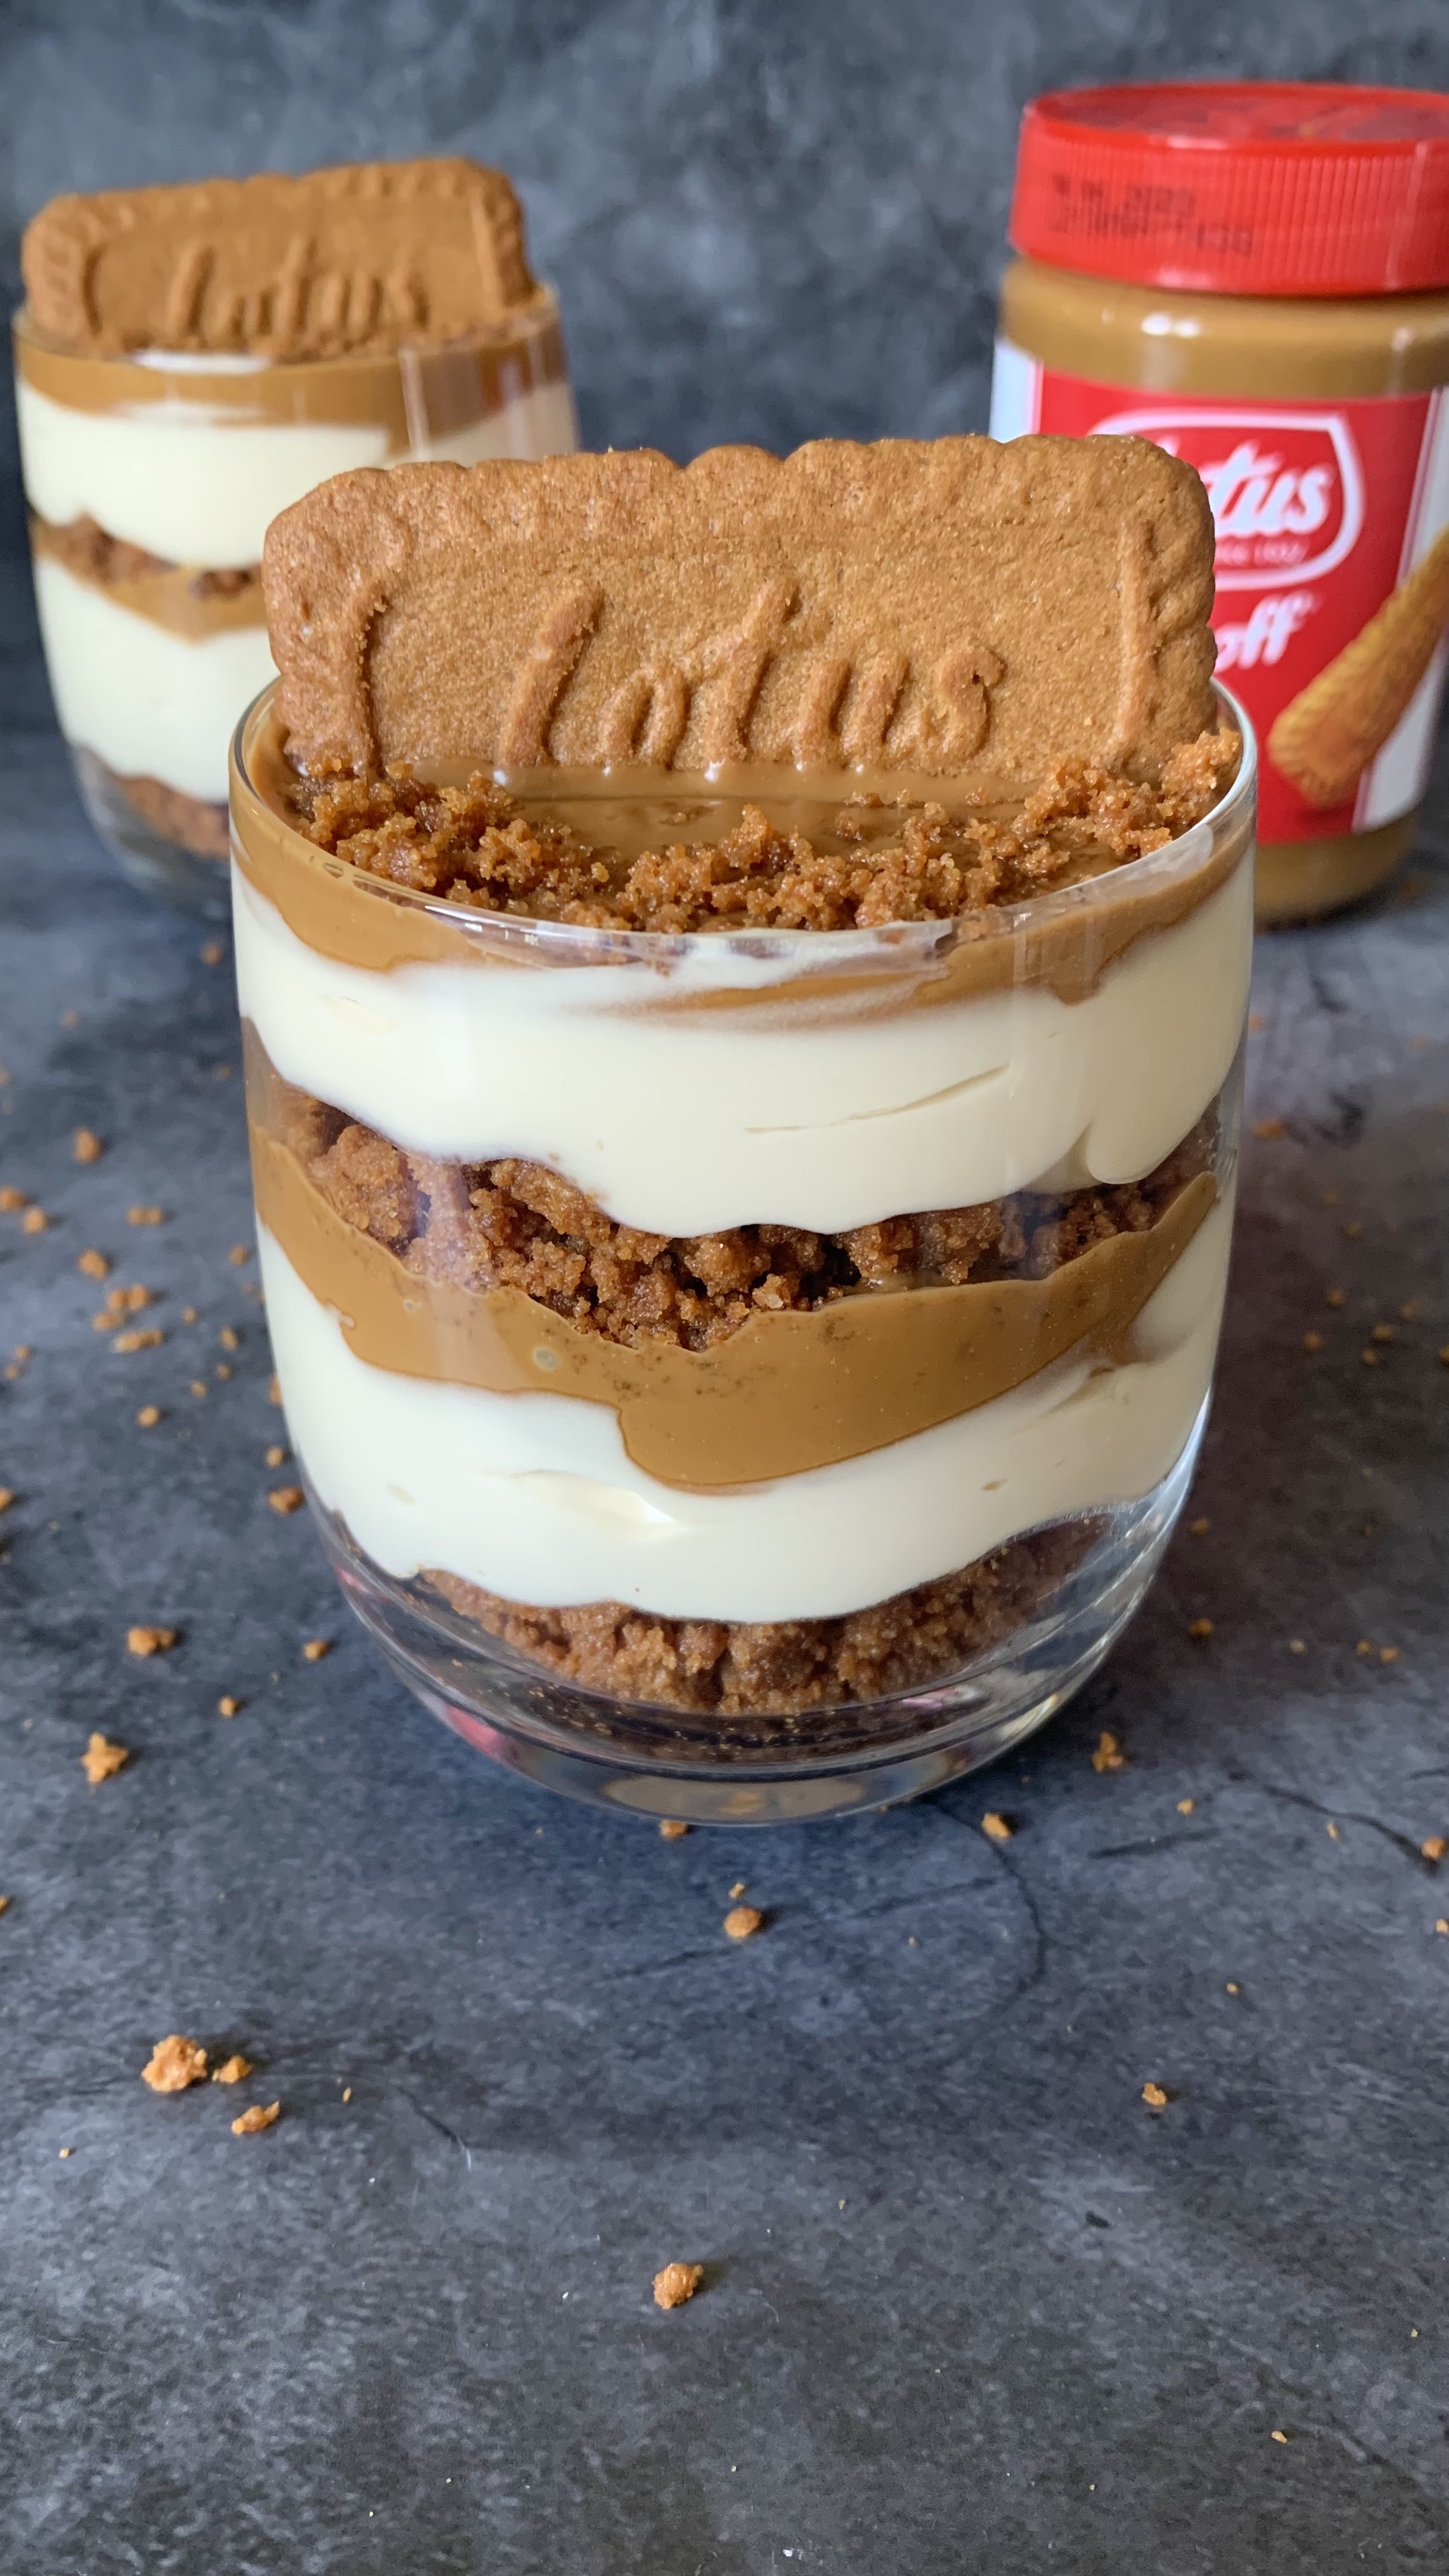
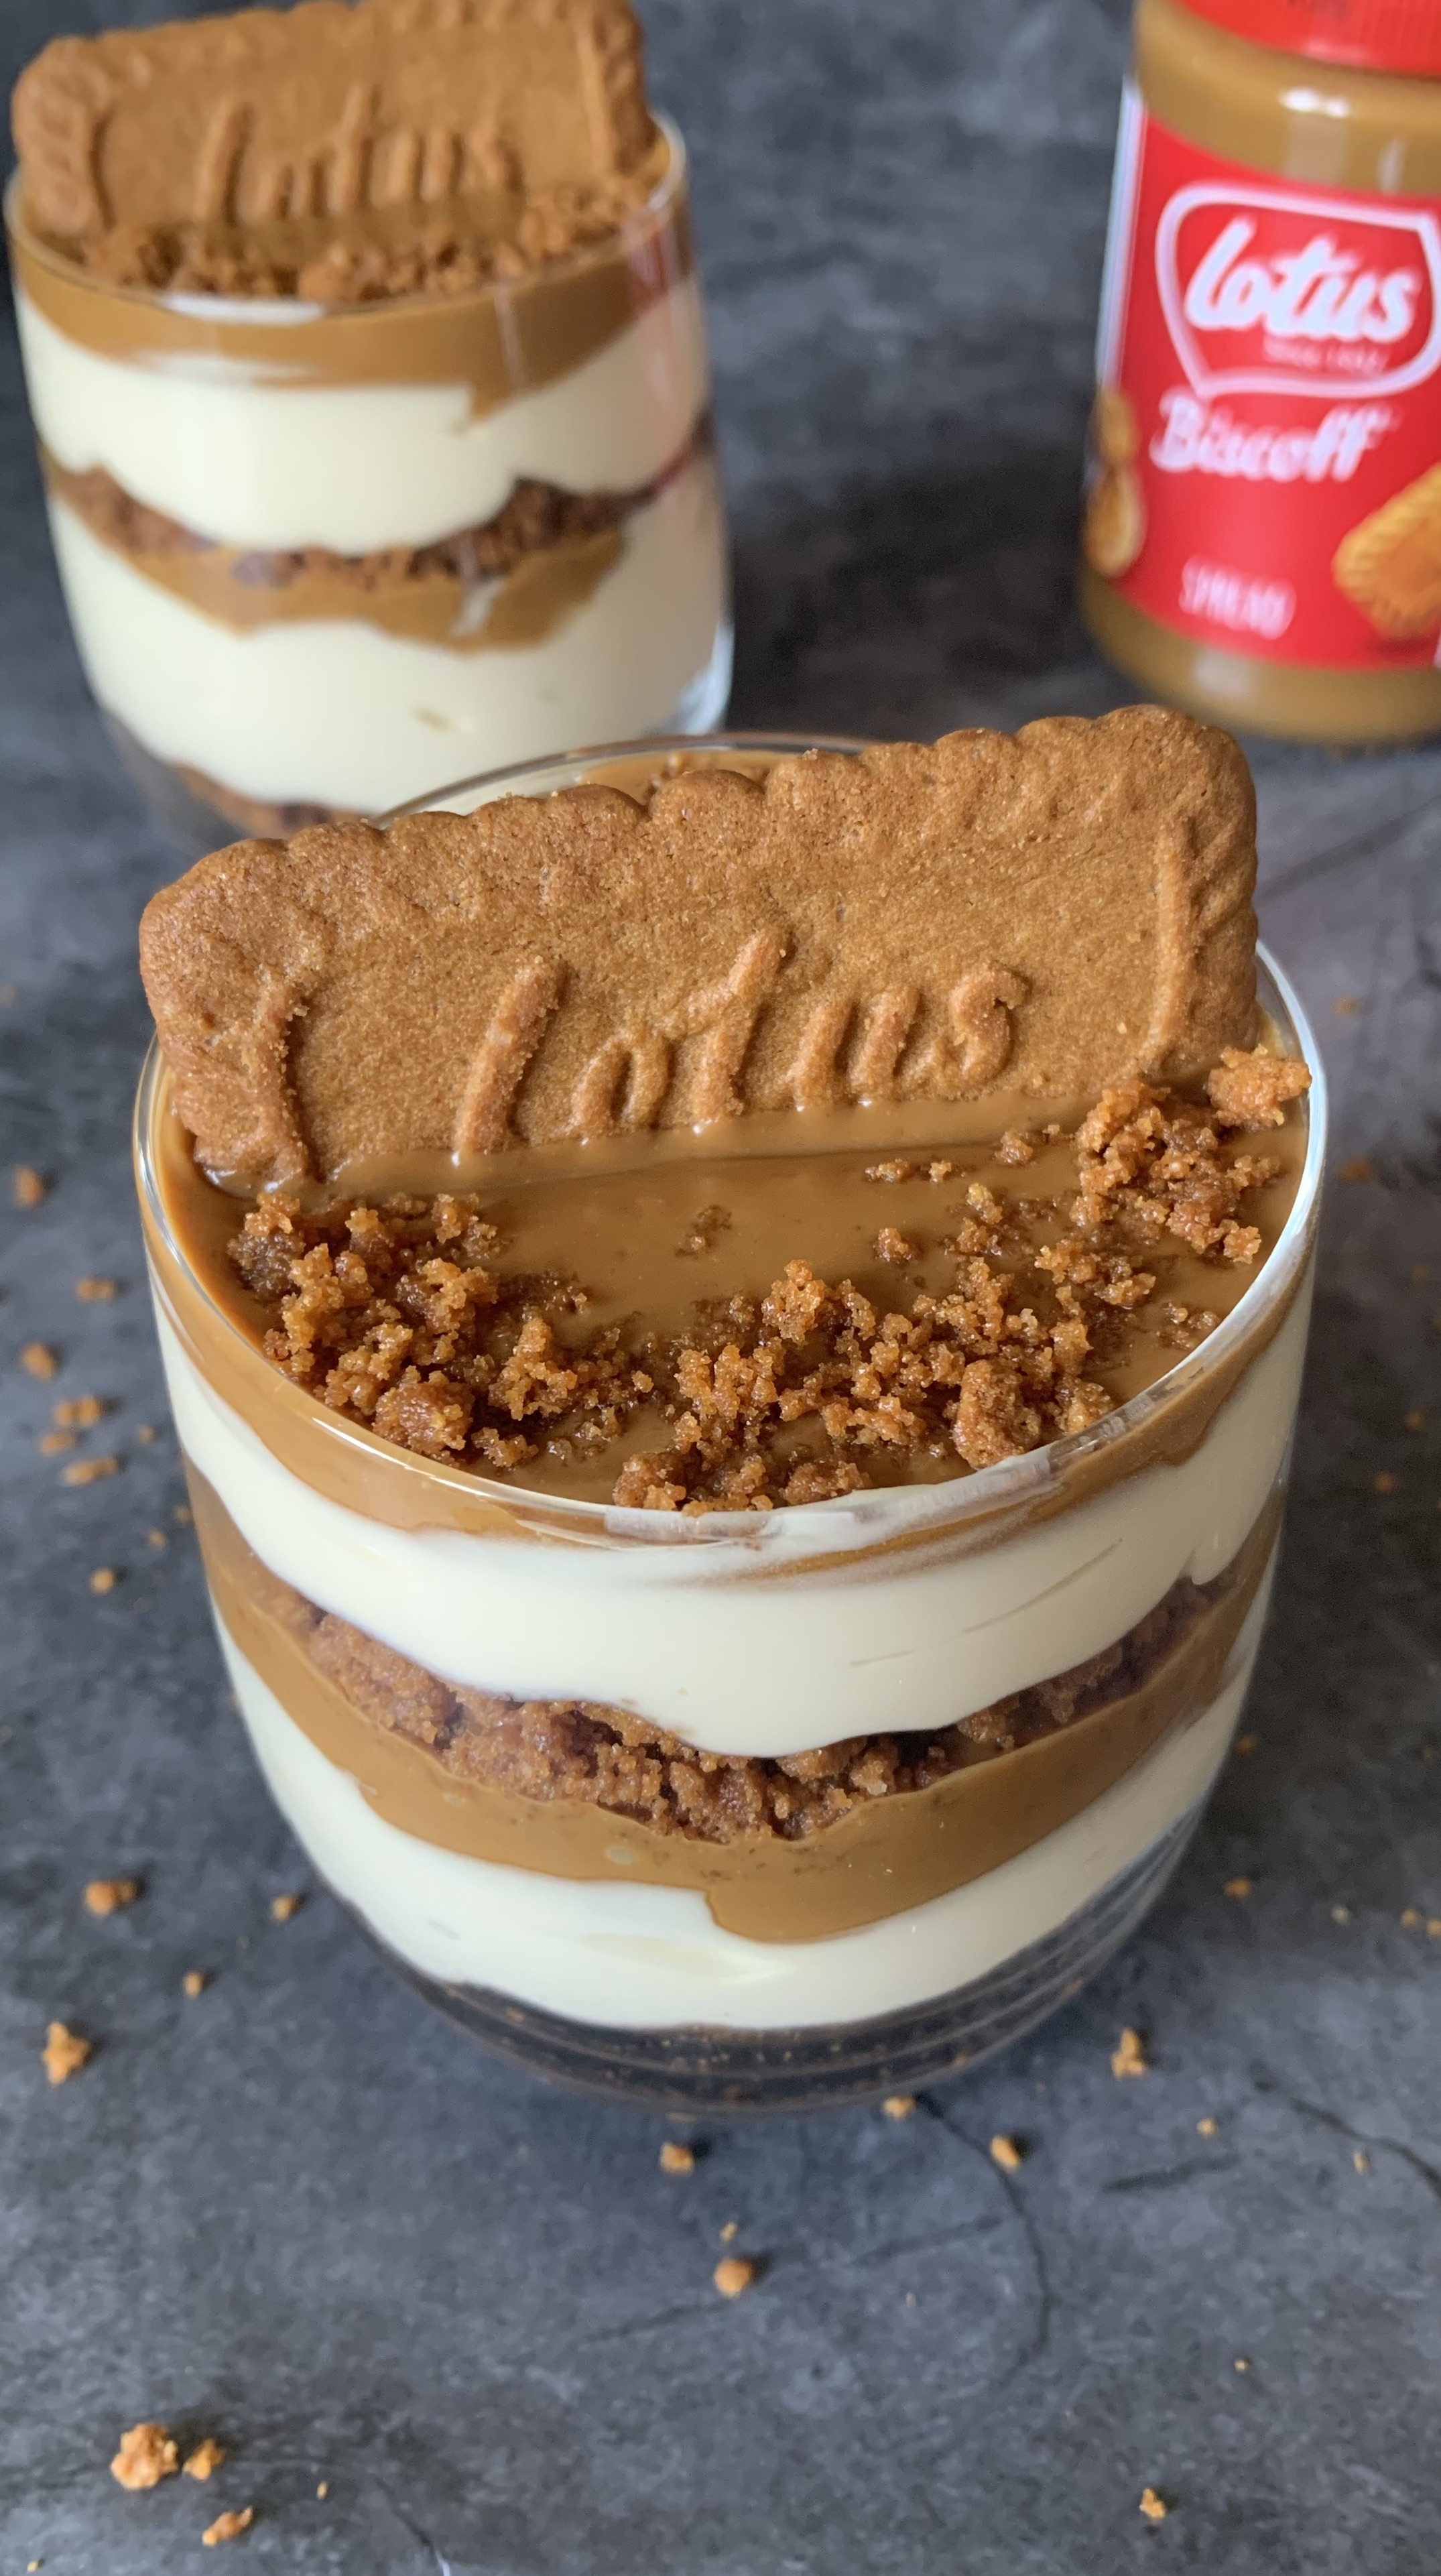
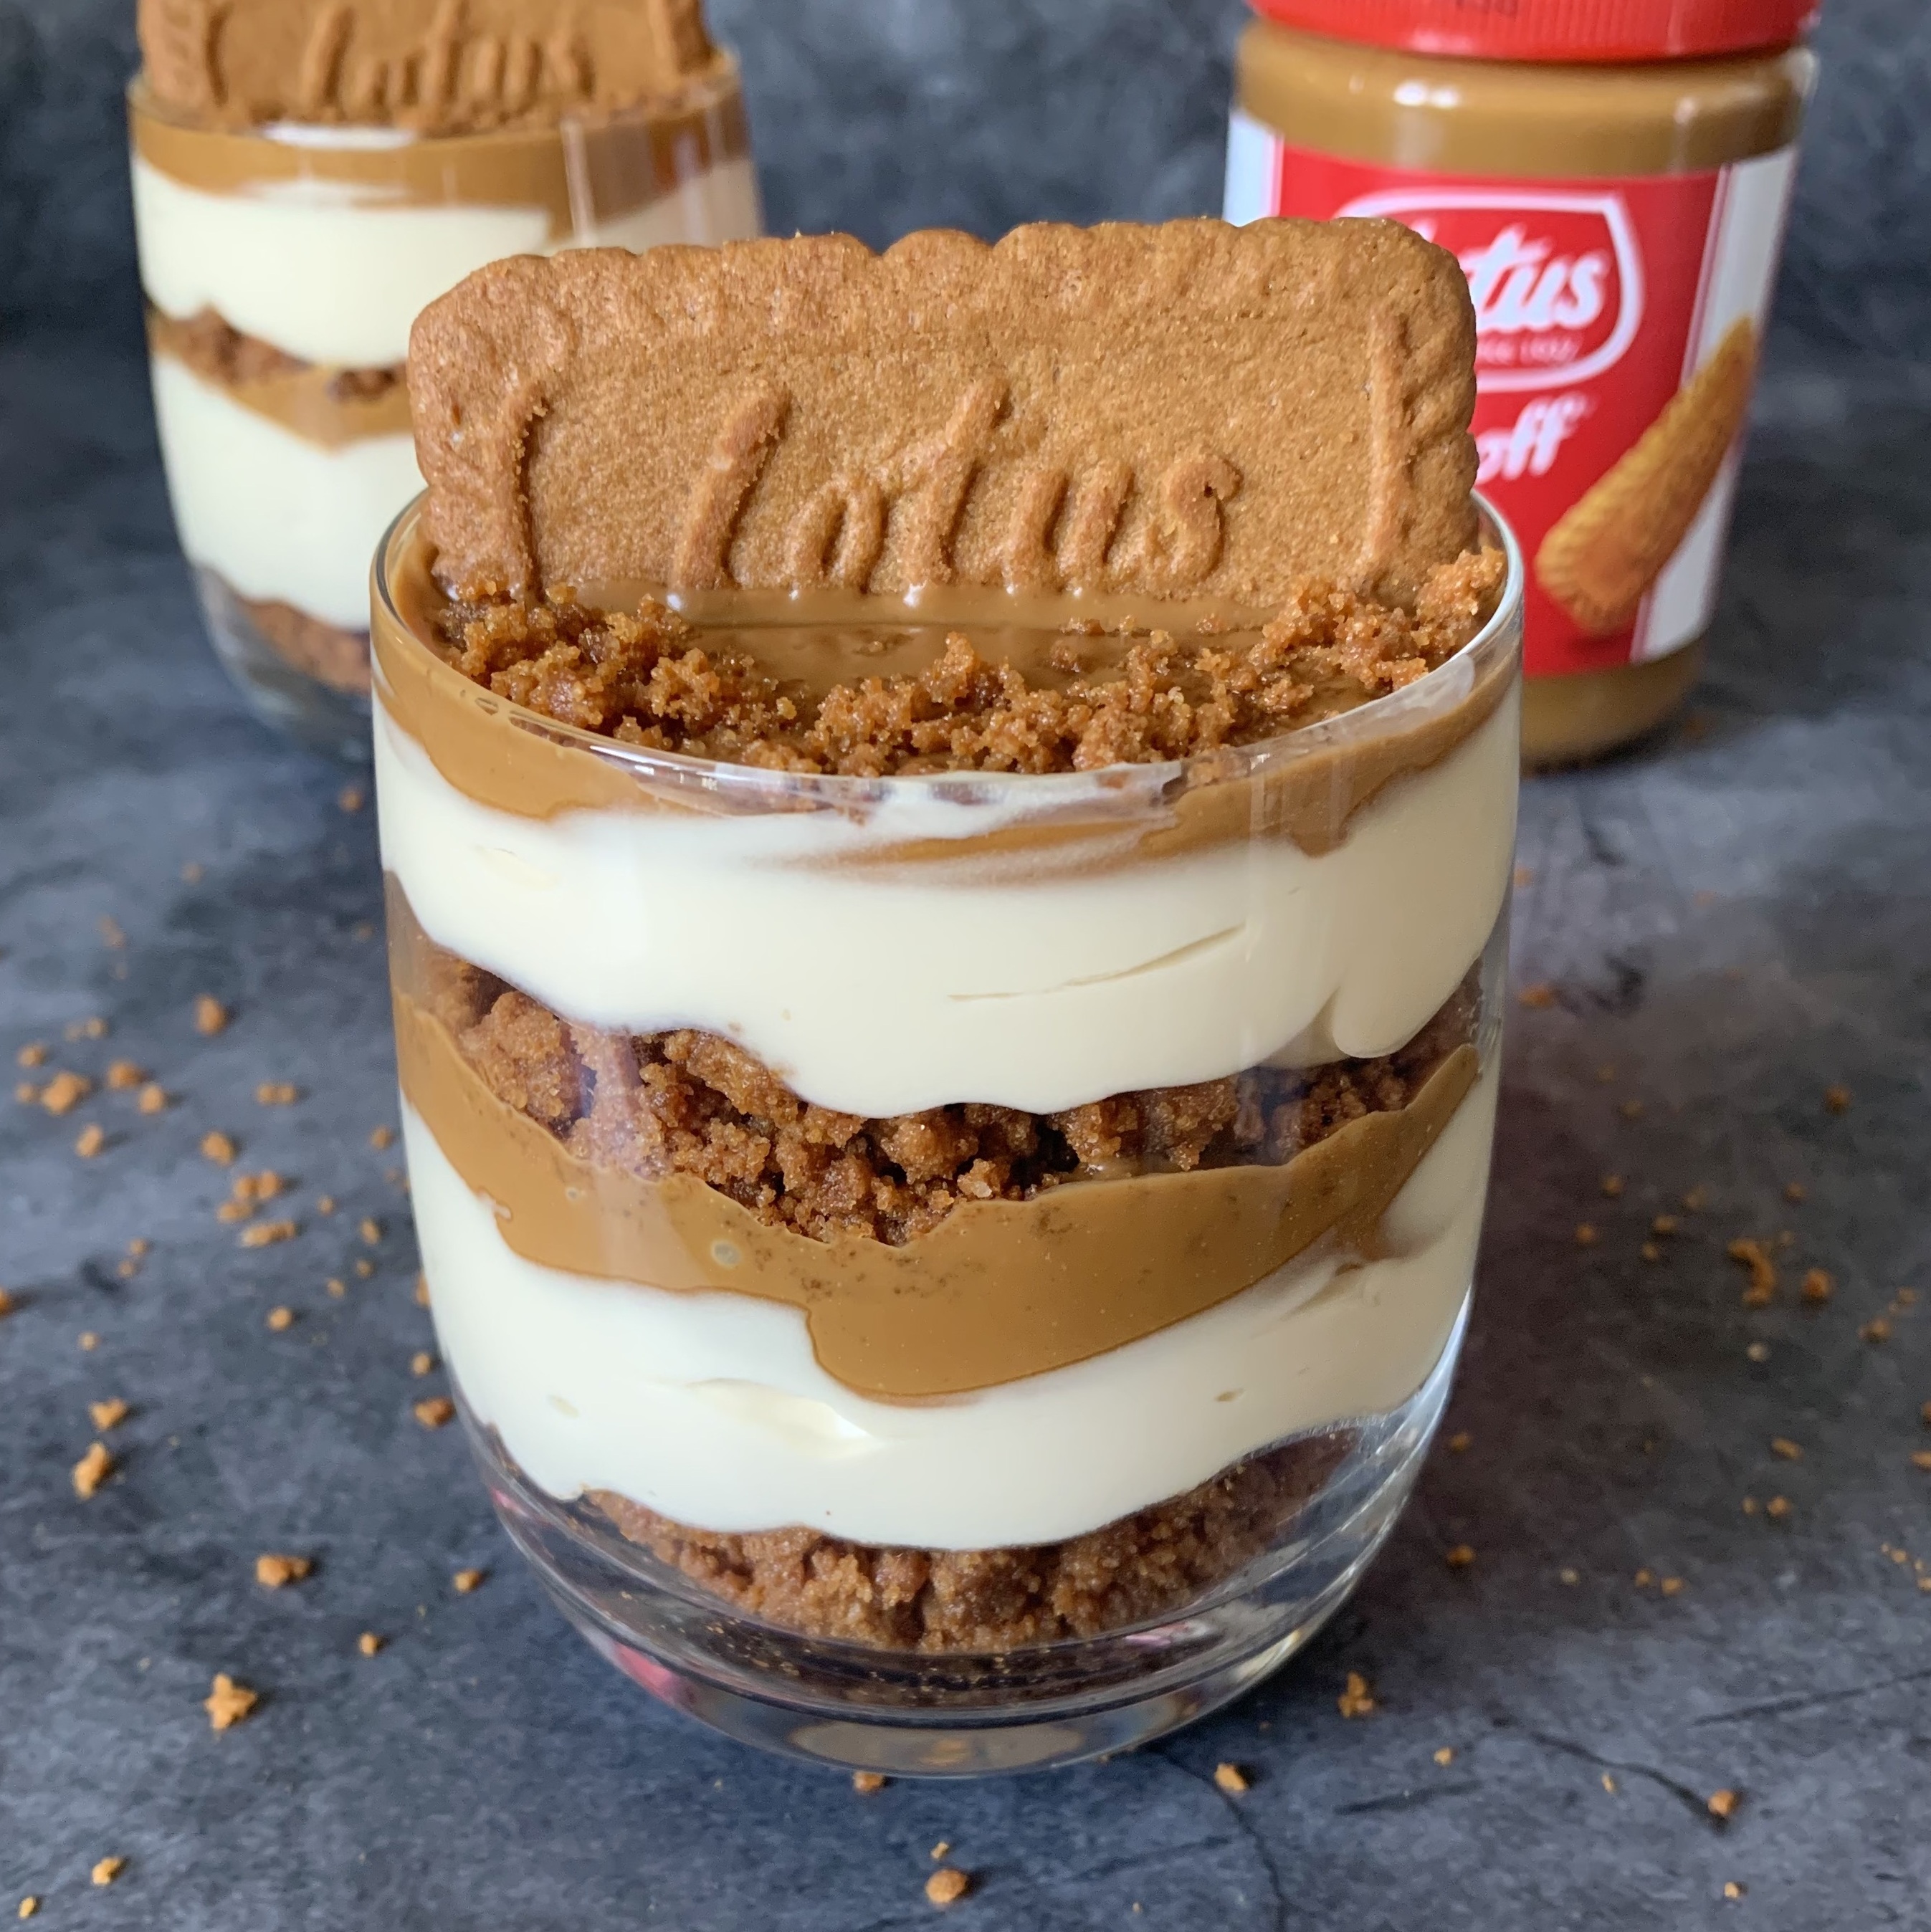
Easy yummy layered biscoff cheesecake pots. Perfectly indulgent.
Biscoff Cheesecake Pots
August 20, 2022
Difficulty
Time 1 hour
Servings 2 big servings (or 4 if you split the filling across 4 glasses / ramekins!)
- For the Biscoff Biscuit Layer
- 135g Biscoff Biscuits
- 35g Unsalted Butter
- For the Cheesecake Layer
- 300g Full Fat Cream Cheese - Room temperature (such as Philadelphia)
- 50g Icing Sugar
- 1 teaspoon Vanilla Extract
- 35g Biscoff Spread (I used smooth)
- 125ml Double Cream
- For the Biscoff layer and Decoration
- 100g Biscoff Spread, Melted (I used smooth)
- Biscoff Biscuits - I used 3
- For the Biscuit Layer
- Crush the biscoff biscuits in a sandwhich bag with a rolling pin, or blitz in a food processor, then place in to a large bowl (I prefer crushing them by hand as I think the added texture works better in the cheesecake pot!). Melt the butter in the microwave in 10 second bursts until smooth. Add the butter to the biscoff biscuits. Stir until combined and the butter is fully absorbed.
- Set aside.
- For the Cheesecake Layer
- Add all ingredients in a large bowl and whisk using an electric hand mixer on medium speed, or with a hand whisk, until the mixture is smooth and lump free - approximately 2 or 3 mins.
- Add to a piping bag (if you have one, leaving in a bowl is fine!).
- Construct and Decorate!
- Take two 330ml glasses and all of your layers (melted biscoff spread, buttery biscoff biscuits, and cheesecake).
- Add a quarter of the biscoff biscuit layer to each glass and press down a little (so you're using half the mixture in total!). Add a quarter of the cheesecake layer on top of the biscuit layer, and then gently top with a quarter of the melted biscoff spread.
- Repeat the last step and you should have used all your mixtures up!
- Decorate with a biscoff biscuit and biscoff biscuit crumbs, if you wish, serve, and enjoy! (If you're making these ahead of time see recipe notes for more details!)
- - Serve your decorated cheesecake immedately. Alternatively, contruct leaving the biscoff biscuit decoration off, and refrigerate for up to a day. You can also keep all the components seperate and refigerate for up to 3 days, then construct when you're ready to eat! If you've stored in the fridge before eating allow to come closer to room temperature before eating.
- *I earn a small amount of money if you buy the products after clicking the links. You will not be charged extra for this. Thank you for your support!
Ingredients
Method
Notes
Recommended Equipment and Ingredients*