Chocolate Krispie Treats
November 06, 2021
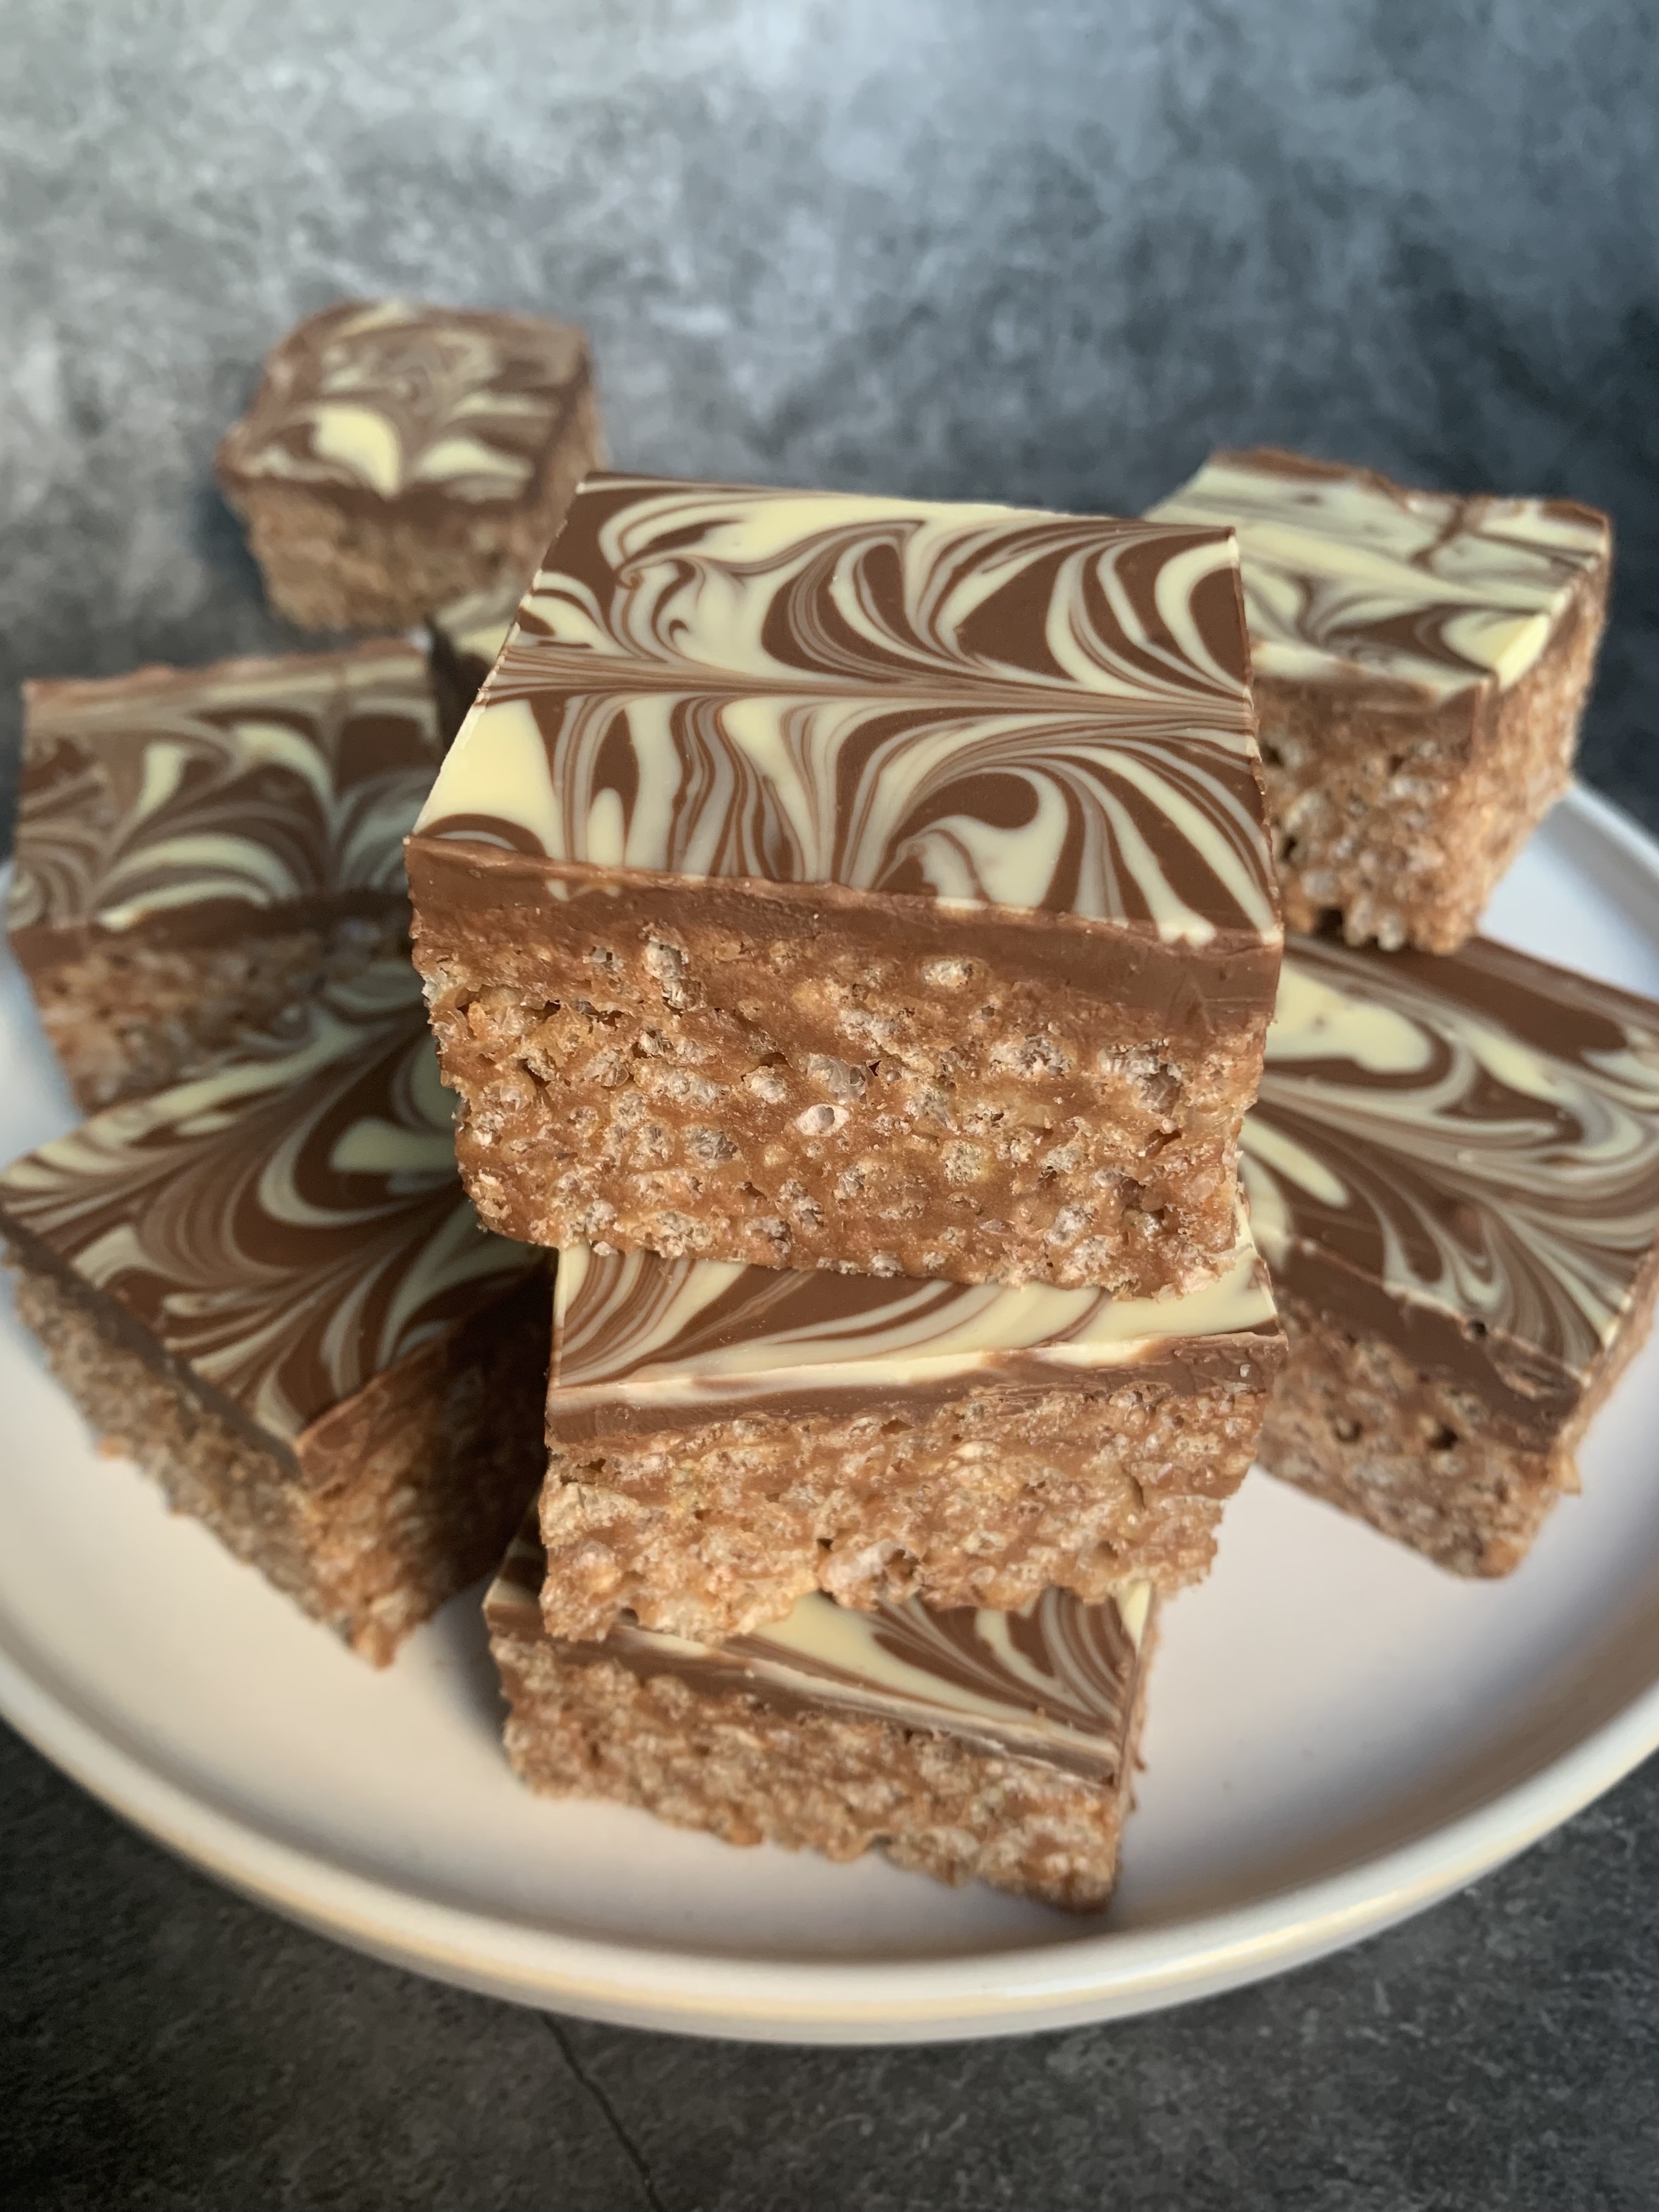
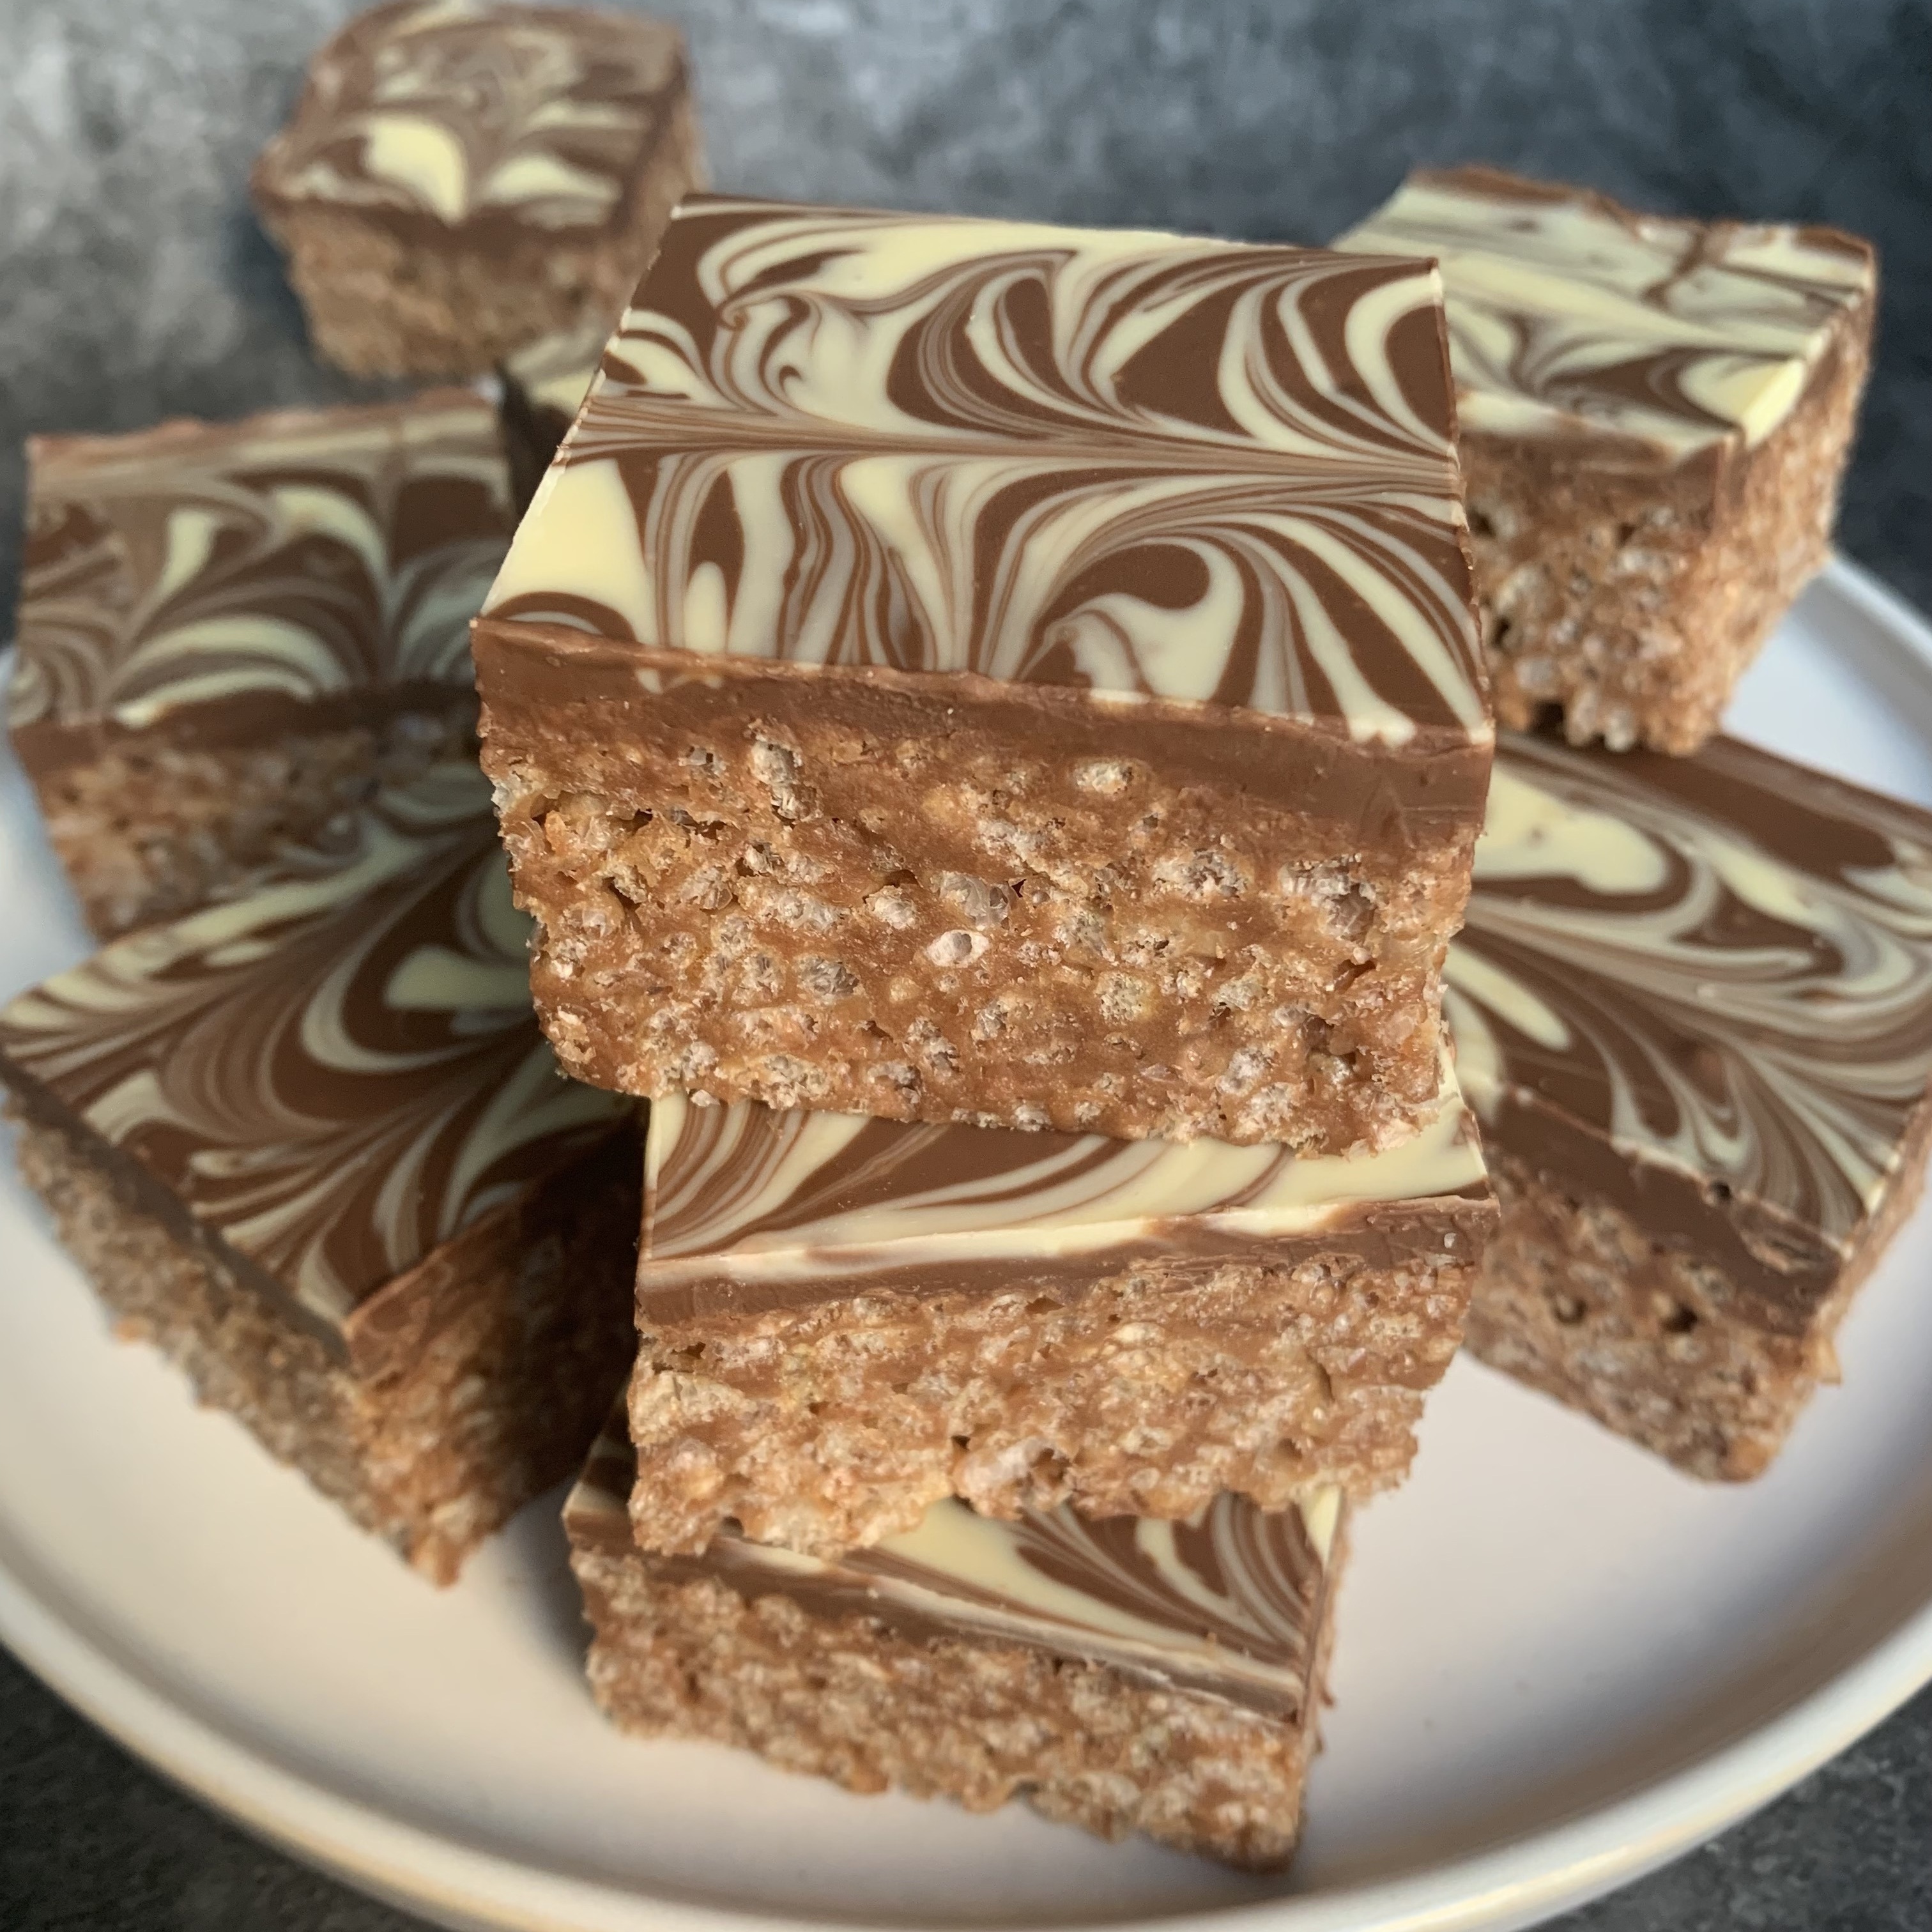
Super easy Chocolate Krispie Treats - a must try classic no-bake treat!
Chocolate Krispie Treats
November 06, 2021
Difficulty
Time 15 minutes (plus 1-2 hours cooling time)
Servings 16
- For the Krispie Layer
- 200g White Marshmallows - use mini if you can find them!
- 150g Butter
- 175g Rice Krispies
- 150g Milk Chocolate
- For the Topping
- 350g Milk Chocolate
- 50g White Chocolate
- For the Krispie Layer
- Line a 9"x9" baking tin.
- Gently melt the butter, marshmallows, and milk chocolate in a saucepan on a low-medium heat. Keep the saucepan on the heat and keep stirring until all ingredients are fully melted and formed a smooth sticky paste. Be patient, as this will take a few minutes.
- Once smooth, remove the saucepan from the heat and stir in the rice krispies until they're evenly covered - work quickly as it'll begin to harden fast! (You can either add the rice krispies to the saucepan or pour the marshmallow mixture on top of the rice krispies, either works!).
- Once fully combined press your krispie layer in to the baking tin (I use the back of a spoon or a spatula for this as it's really sticky!).
- For Topping and Decoration
- Break the milk chocolate and the white chocolate up in to chunks and melt in two seperate bowls/jugs in the microwave (or in a double boiler) until smooth - be careful not to overheat the chocolate.
- Pour the milk chocolate over the rice krispie mixture and smooth out to form an even surface.
- Pipe or spoon on the white chocolate and then swirl in using a toothpick, knife, or cake skewer to form a pretty pattern.
- Chill in the fridge until fully set before cutting in to pieces.
- - Store your Krispie Treats in an air tight container either at room temperature or in the fridge, where they will last for approx 1+ weeks.
- - More or less chocolate can be added to the topping depending on your desired thickness - I like mine chunky!
- *I earn a small amount of money if you buy the products after clicking the links. You will not be charged extra for this. Thank you for your support!
Ingredients
Method
Notes
Recommended Equipment and Ingredients*
