Honeycomb Crunchie Bars
July 11, 2020
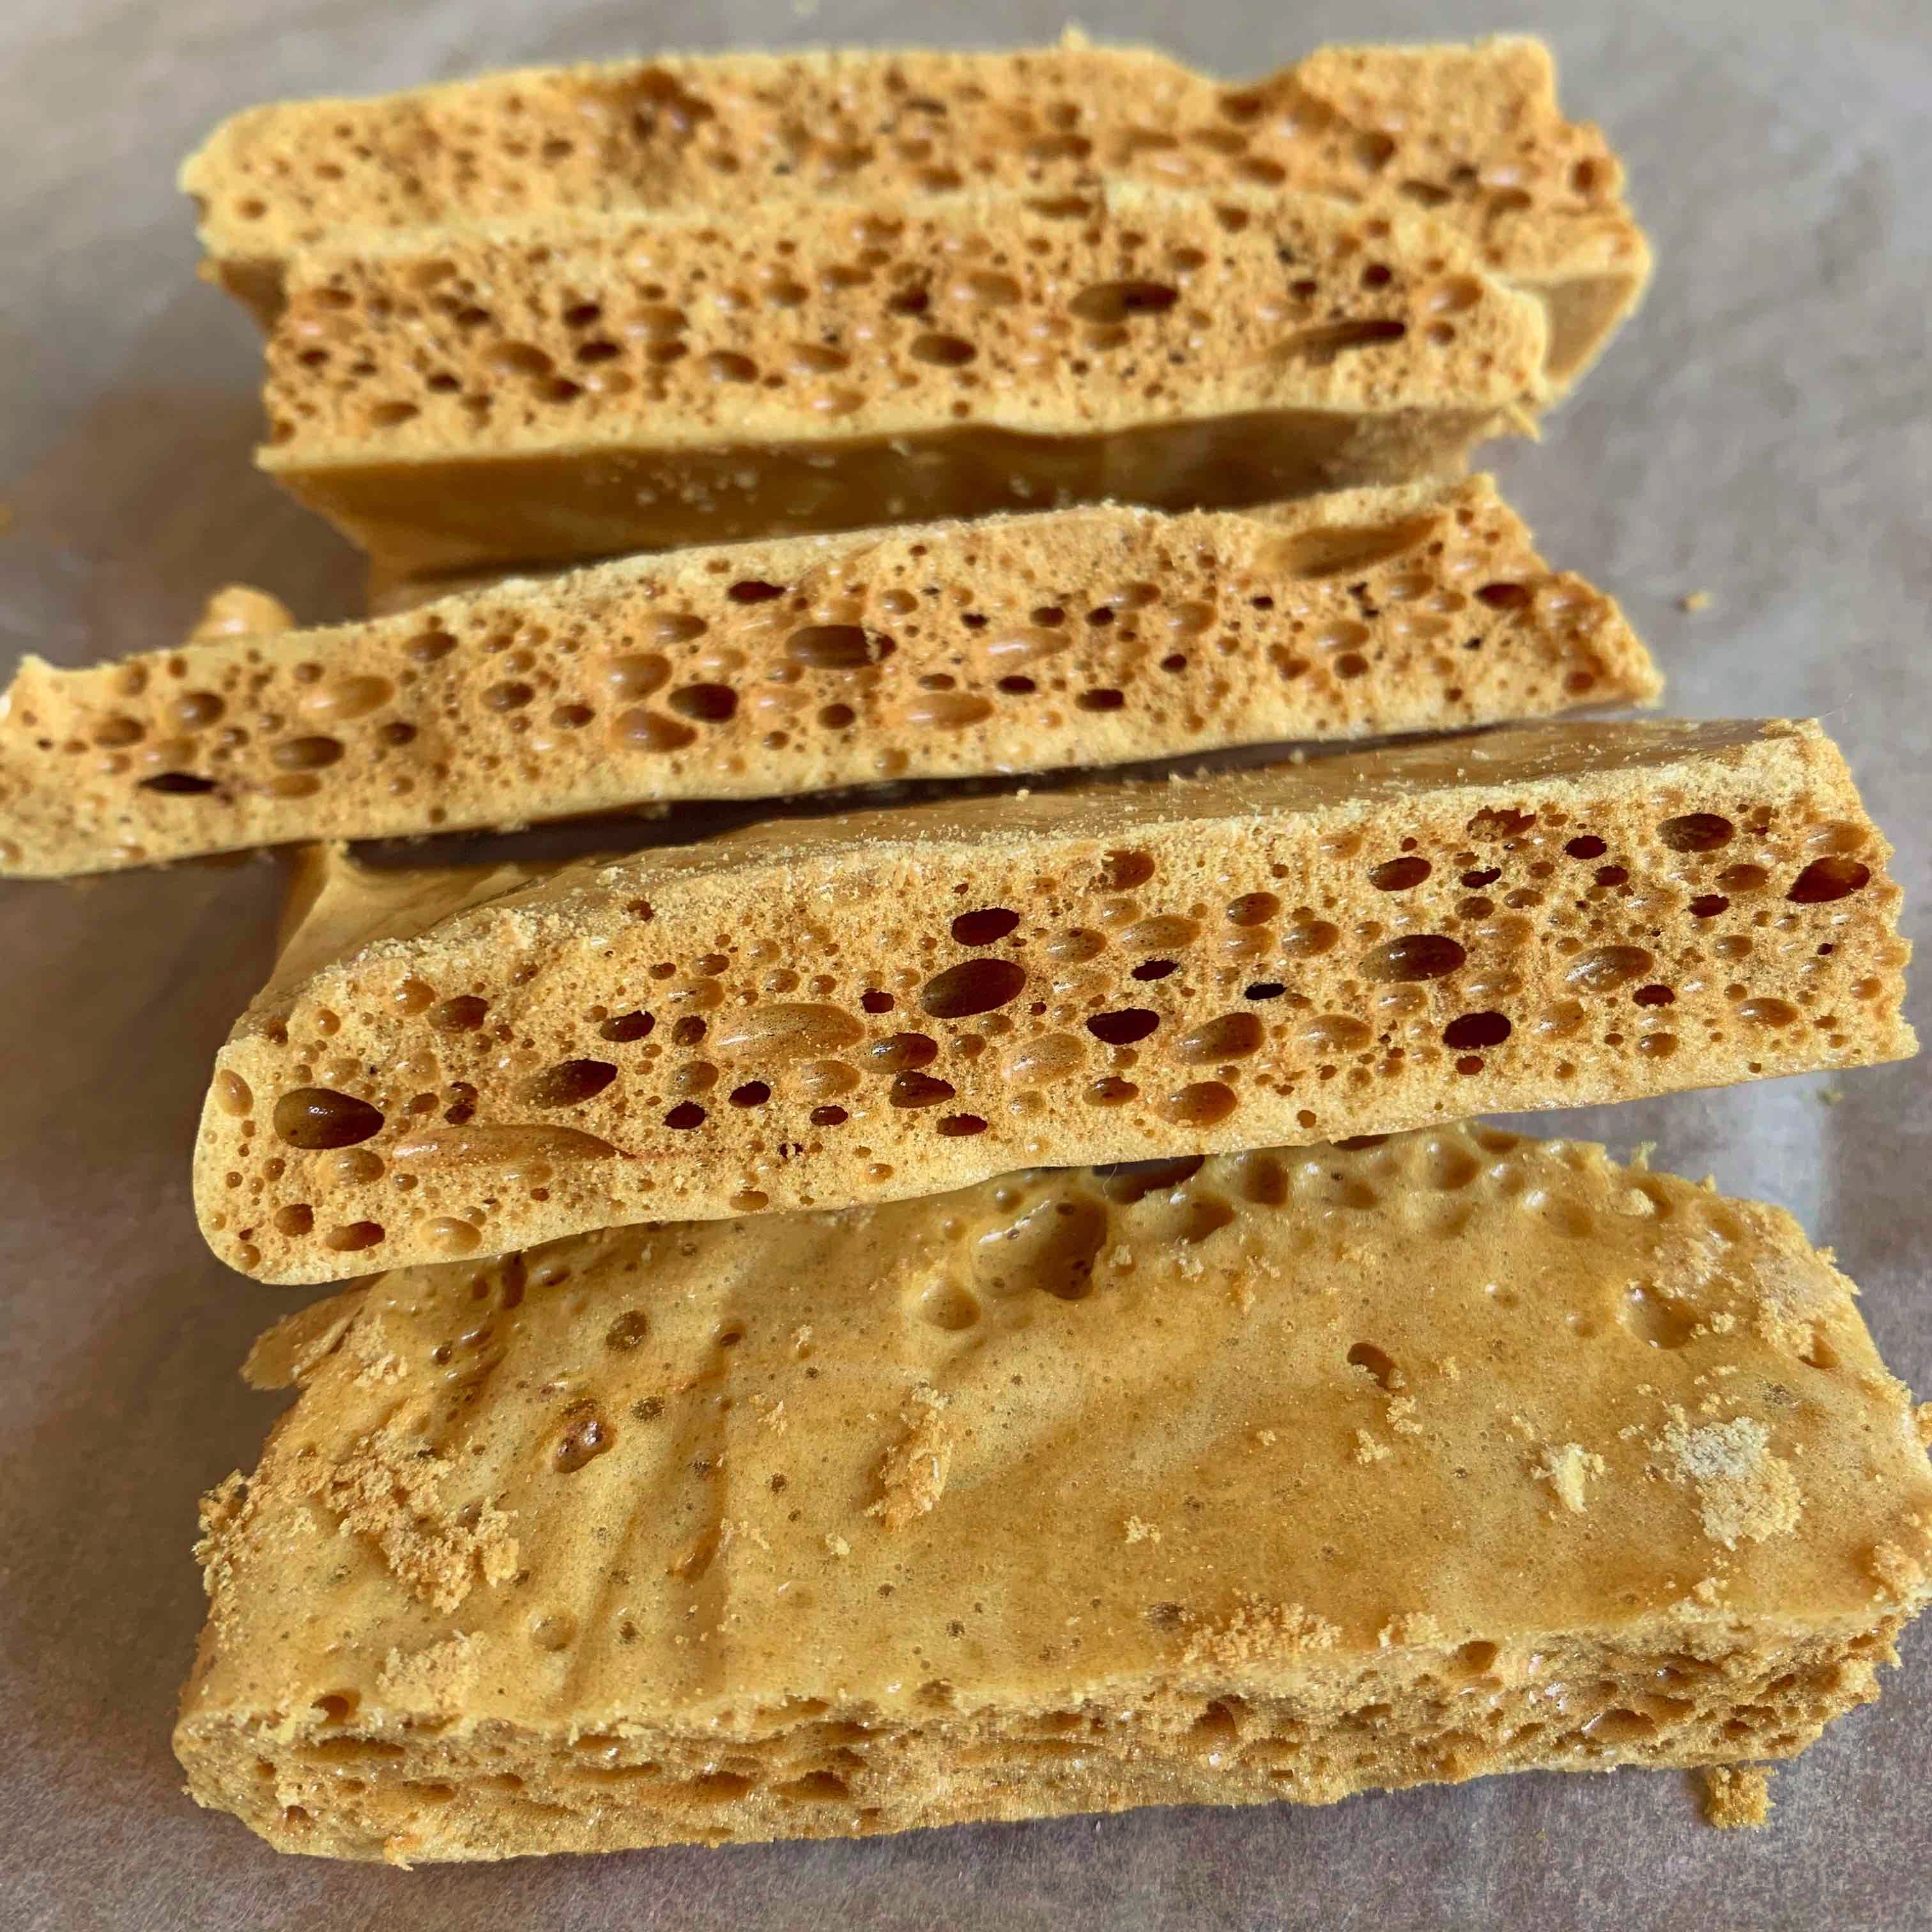
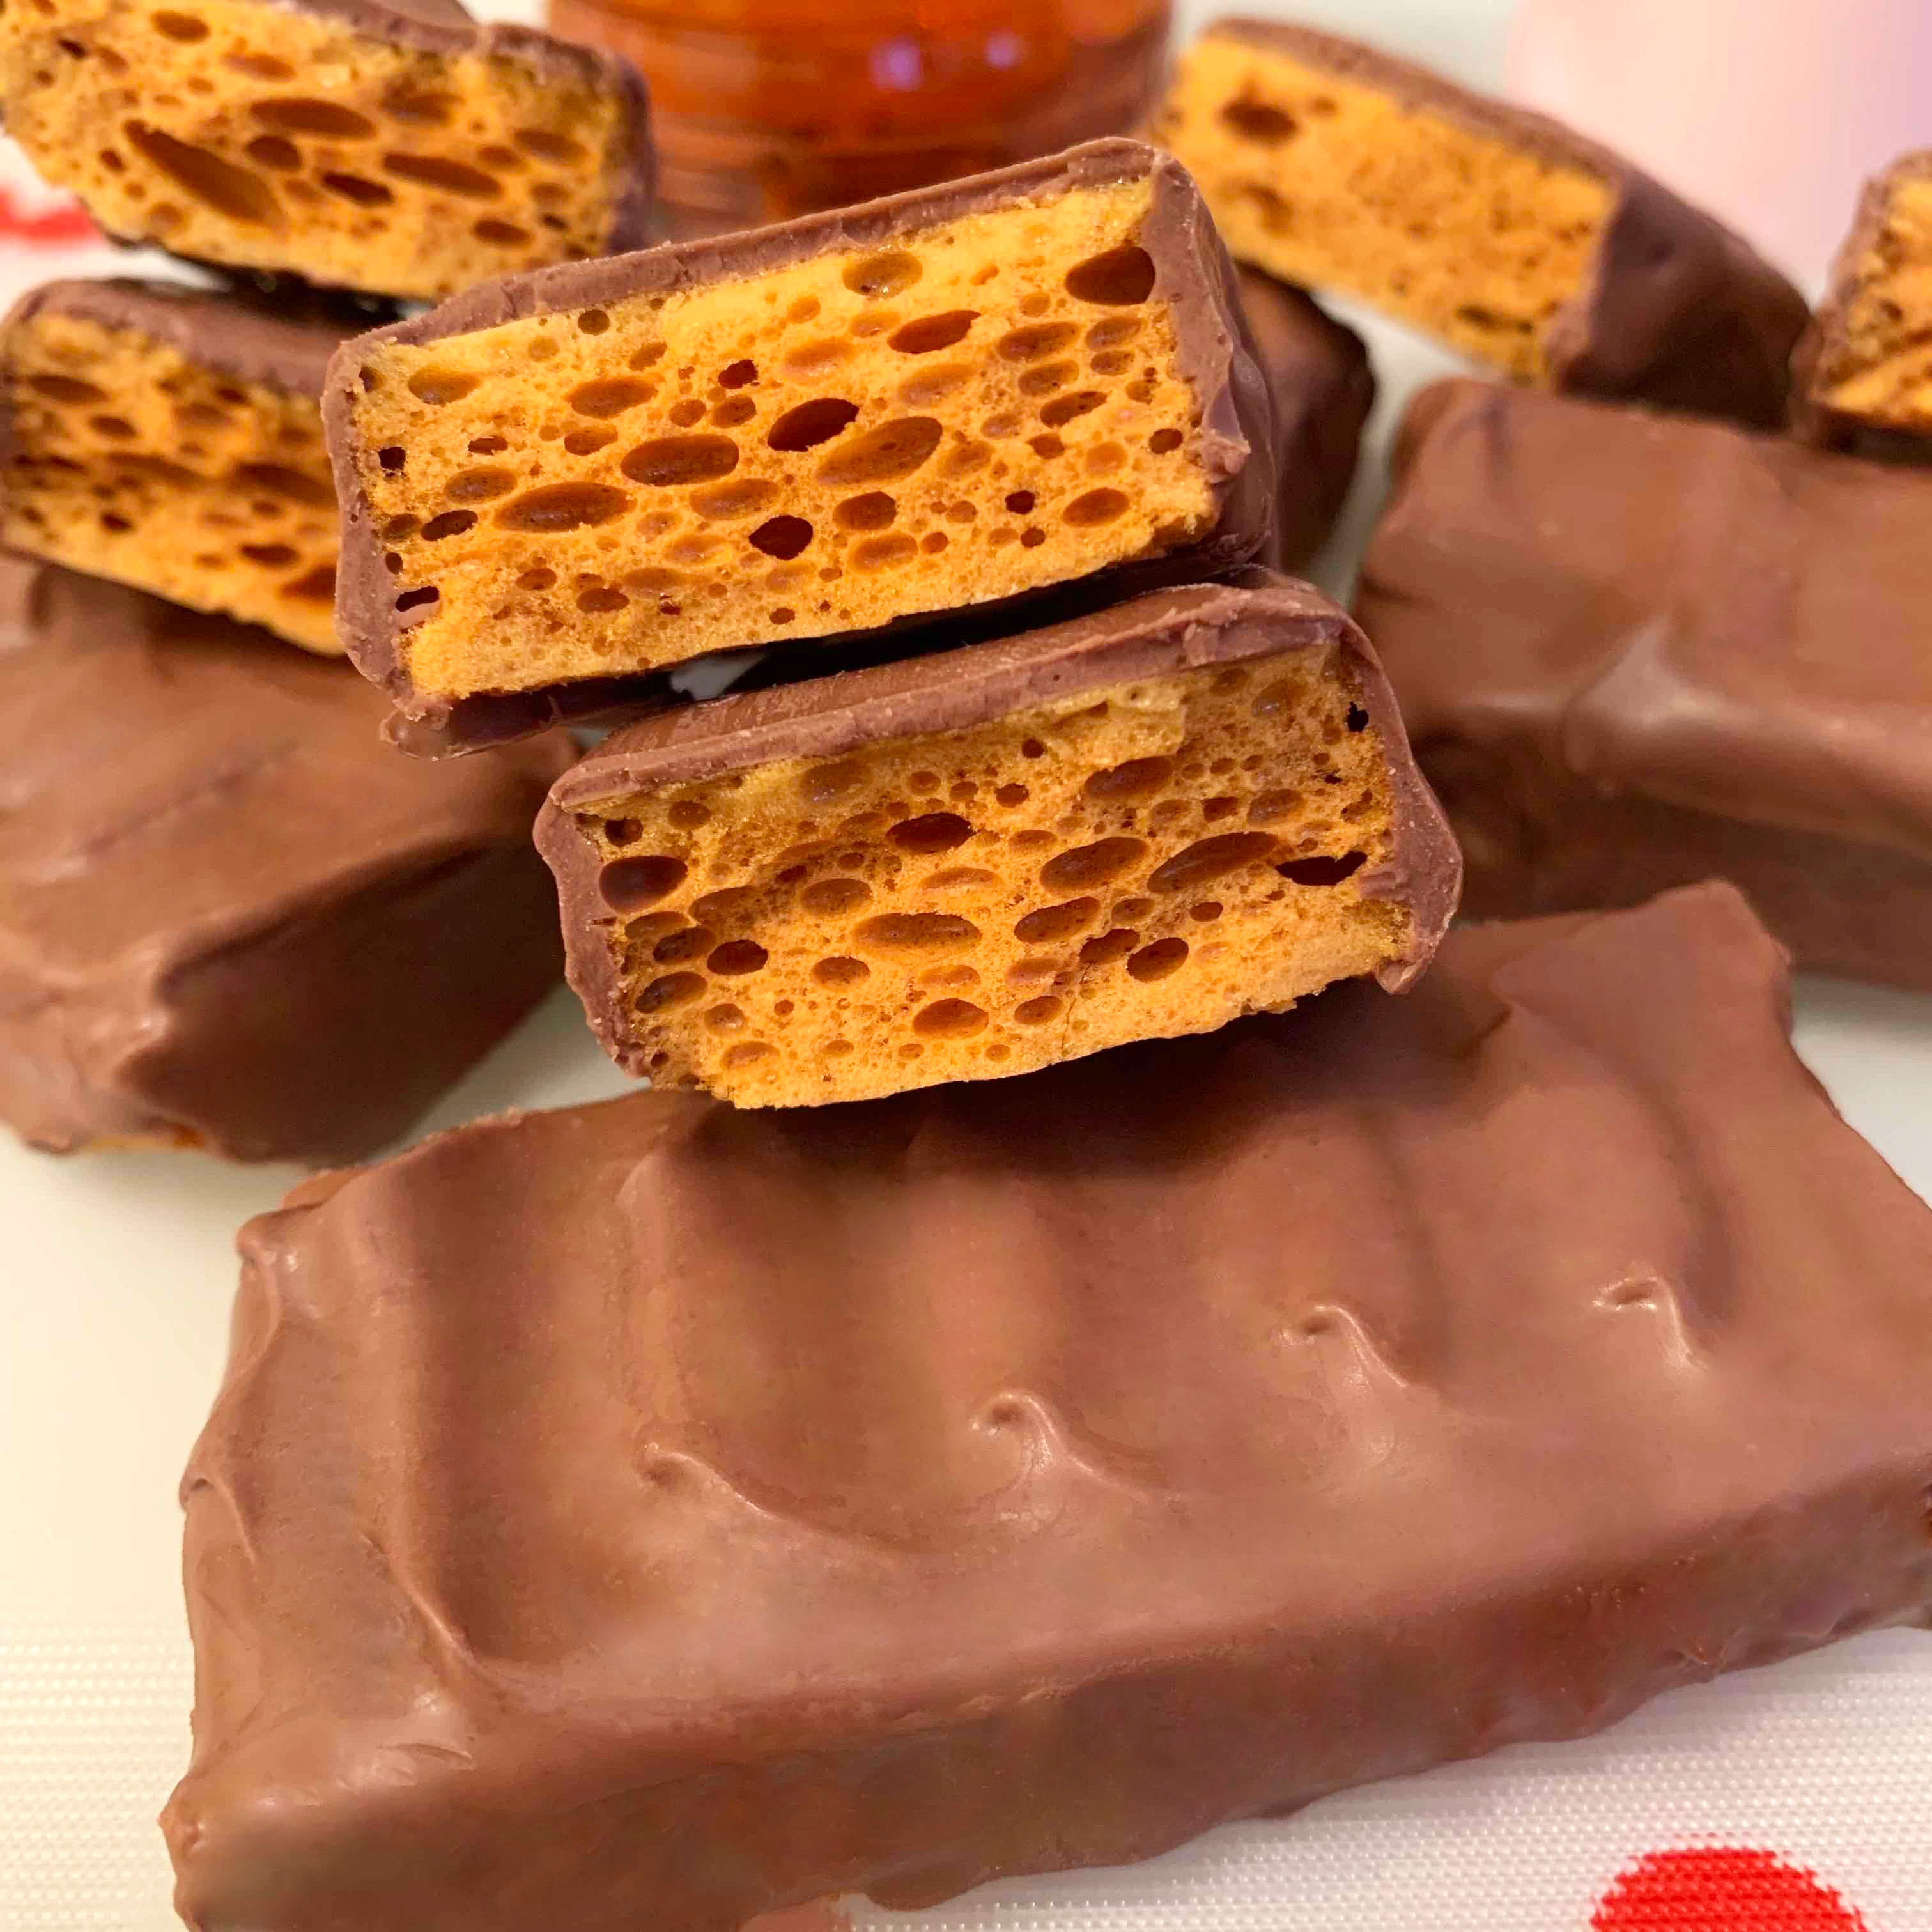
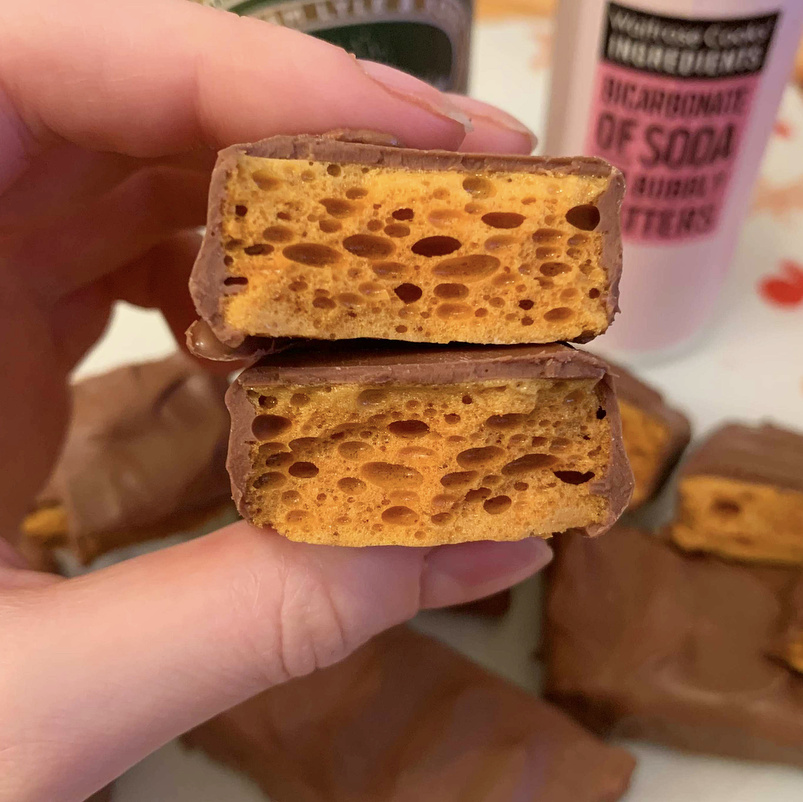
Delicious and easy 4 ingredient homemade honeycomb crunchie bars!

Honeycomb Crunchie Bars
July 11, 2020
Difficulty
Time 15 minute (plus 2 hours cooling time)
Servings 12+ bars
- 5 tablespoons Golden Syrup
- Caster Sugar (200g)
- 2 teaspoons bicarbonate of Soda (Baking Soda)
- Milk Chocolate (300g)
- Honeycomb requires speed for success - because of that I recommend reading the whole recipe and notes before starting so you know what to expect!
- Line a 8"x8" baking tin. Measure out the bicarbonate of soda and set aside.
- Using a large saucepan gently melt over a medium heat the caster sugar and golden syrup until no sugar crystals remain. Do not let the mixture boil; take it off the heat for a few seconds if it's getting too hot. You can stir the sugar a couple of times while waiting for the crystals to melt, but don't overdo it!
- Once no sugar crystals remain you don't need to stir anymore, but you can gently swirl the sugar if you wish. Turn up to a high heat and wait until the sugar turns amber in colour (or 150C, if you have a kitchen thermometer). Don't take your eyes off of the sugar as this will happen relatively quickly, and burned honeycomb is sad honeycomb! when it turns amber, quickly take off the heat and immediately whisk in the bicarbonate of soda. Work quickly. The bibarb will cause the sugar to bubble up and double or more in size; it's what gives honeycomb its characteristic bubbles!
- Pour the honeycomb in to your prepared baking tin and leave to cool until set. Do this carefully as the sugar is hot hot hot!
- When the honeycomb is cool take out of the tin and use a sharp knife to score lines on to the honeycomb to mark out your crunchie bars! Then either saw through the honeycomb with the knife or snap along the scored lines to get your bars. You'll likely find that a few of the bars aren't a perfect rectangle shape. That's okay :)
- Melt your milk chocolate in a microwave proof bowl/jug in 20 second burst until smooth. Then either use two forks to dip the honeycomb bars in to the chocolate one by one, and knock off any excess, or place the honeycomb bars on to a wire cooling rack and pour the chocolate on top! Use a knife/cake skewer/palete knife to create ridges on top of the chocolate by gently pushing the chocolate from one direction. Leave your honeycomb crunchie bars on a wire cooling rack until the chocolate has fully set. Enjoy!
- - Store your homemade honeycomb crunchie bars in an airtight container at room temperature, where they'll last for 1+ weeks!
- - The crunchie bars like a dry environment (they go sticky in humidity). If you live in a humid climate or notice the crunchie bars going sticky, then try storing them in the freezer!
- - If you can't get your hands on golden syrup, corn syrup can be used as a substitute.
- *I earn a small amount of money if you buy the products after clicking the links. You will not be charged extra for this. Thank you for your support!
Ingredients
Method
Notes
Recommended Equipment and Ingredients*
