Spider Brownies
October 22, 2022
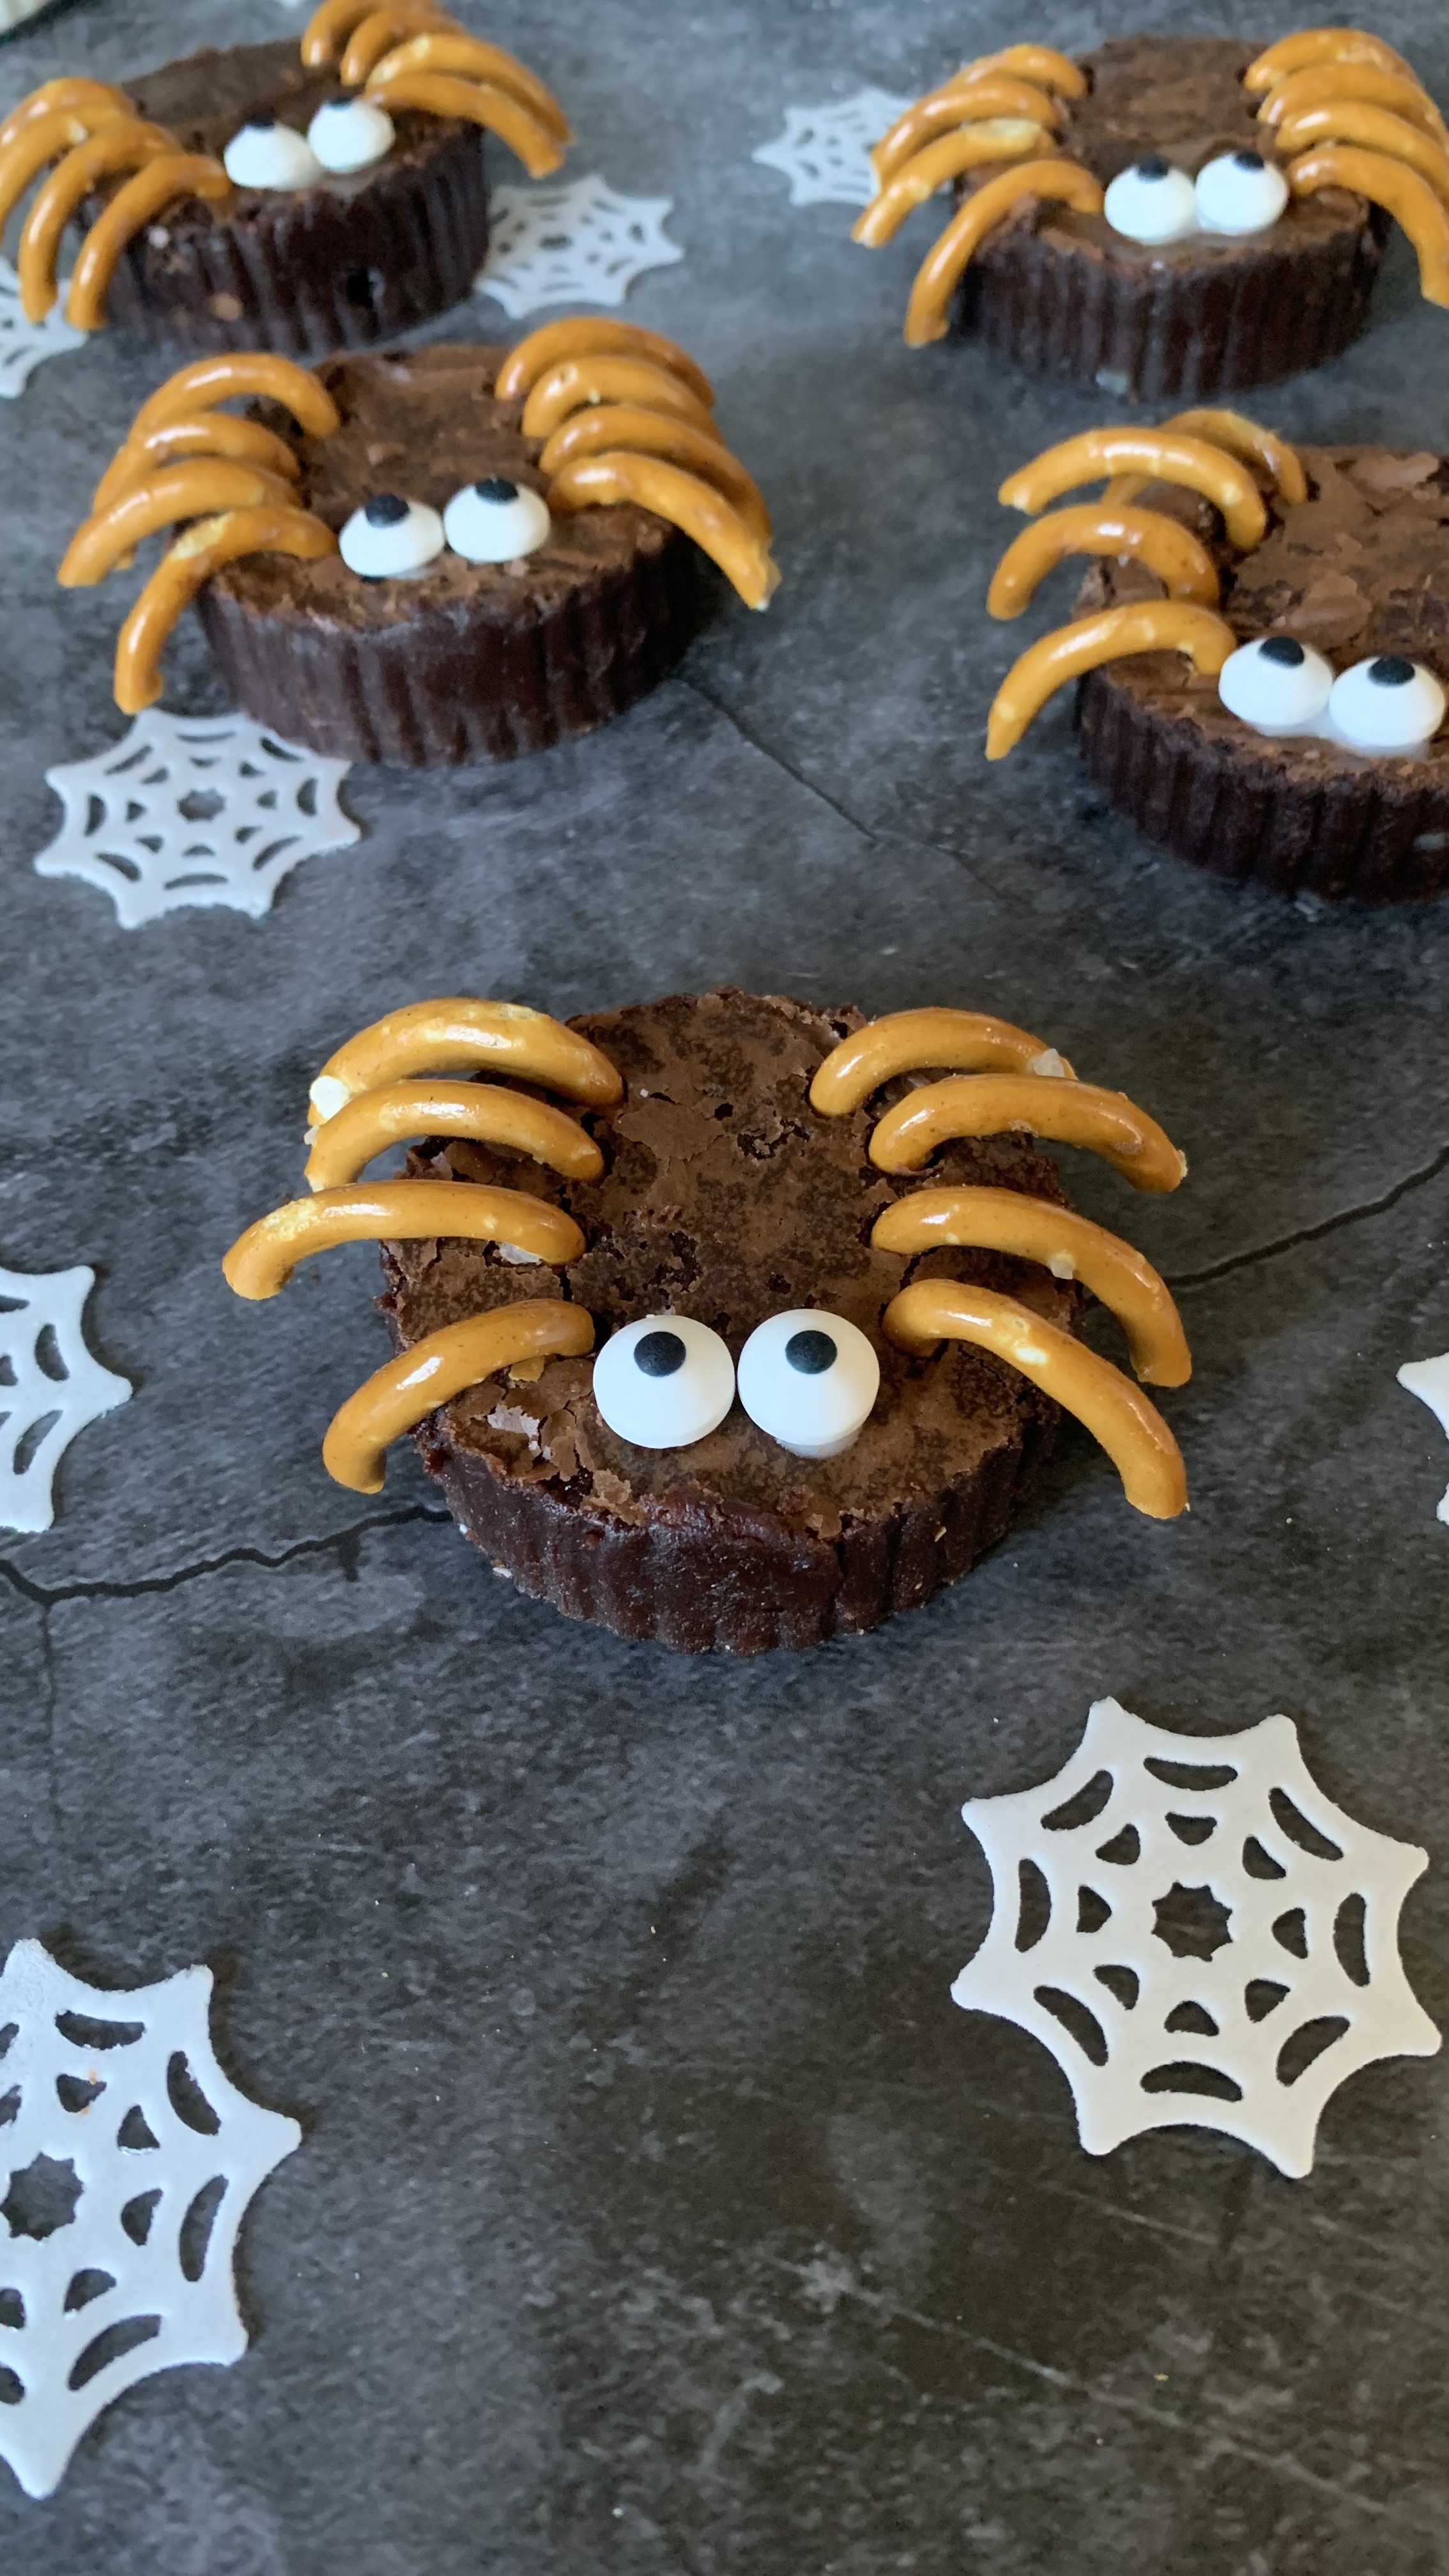
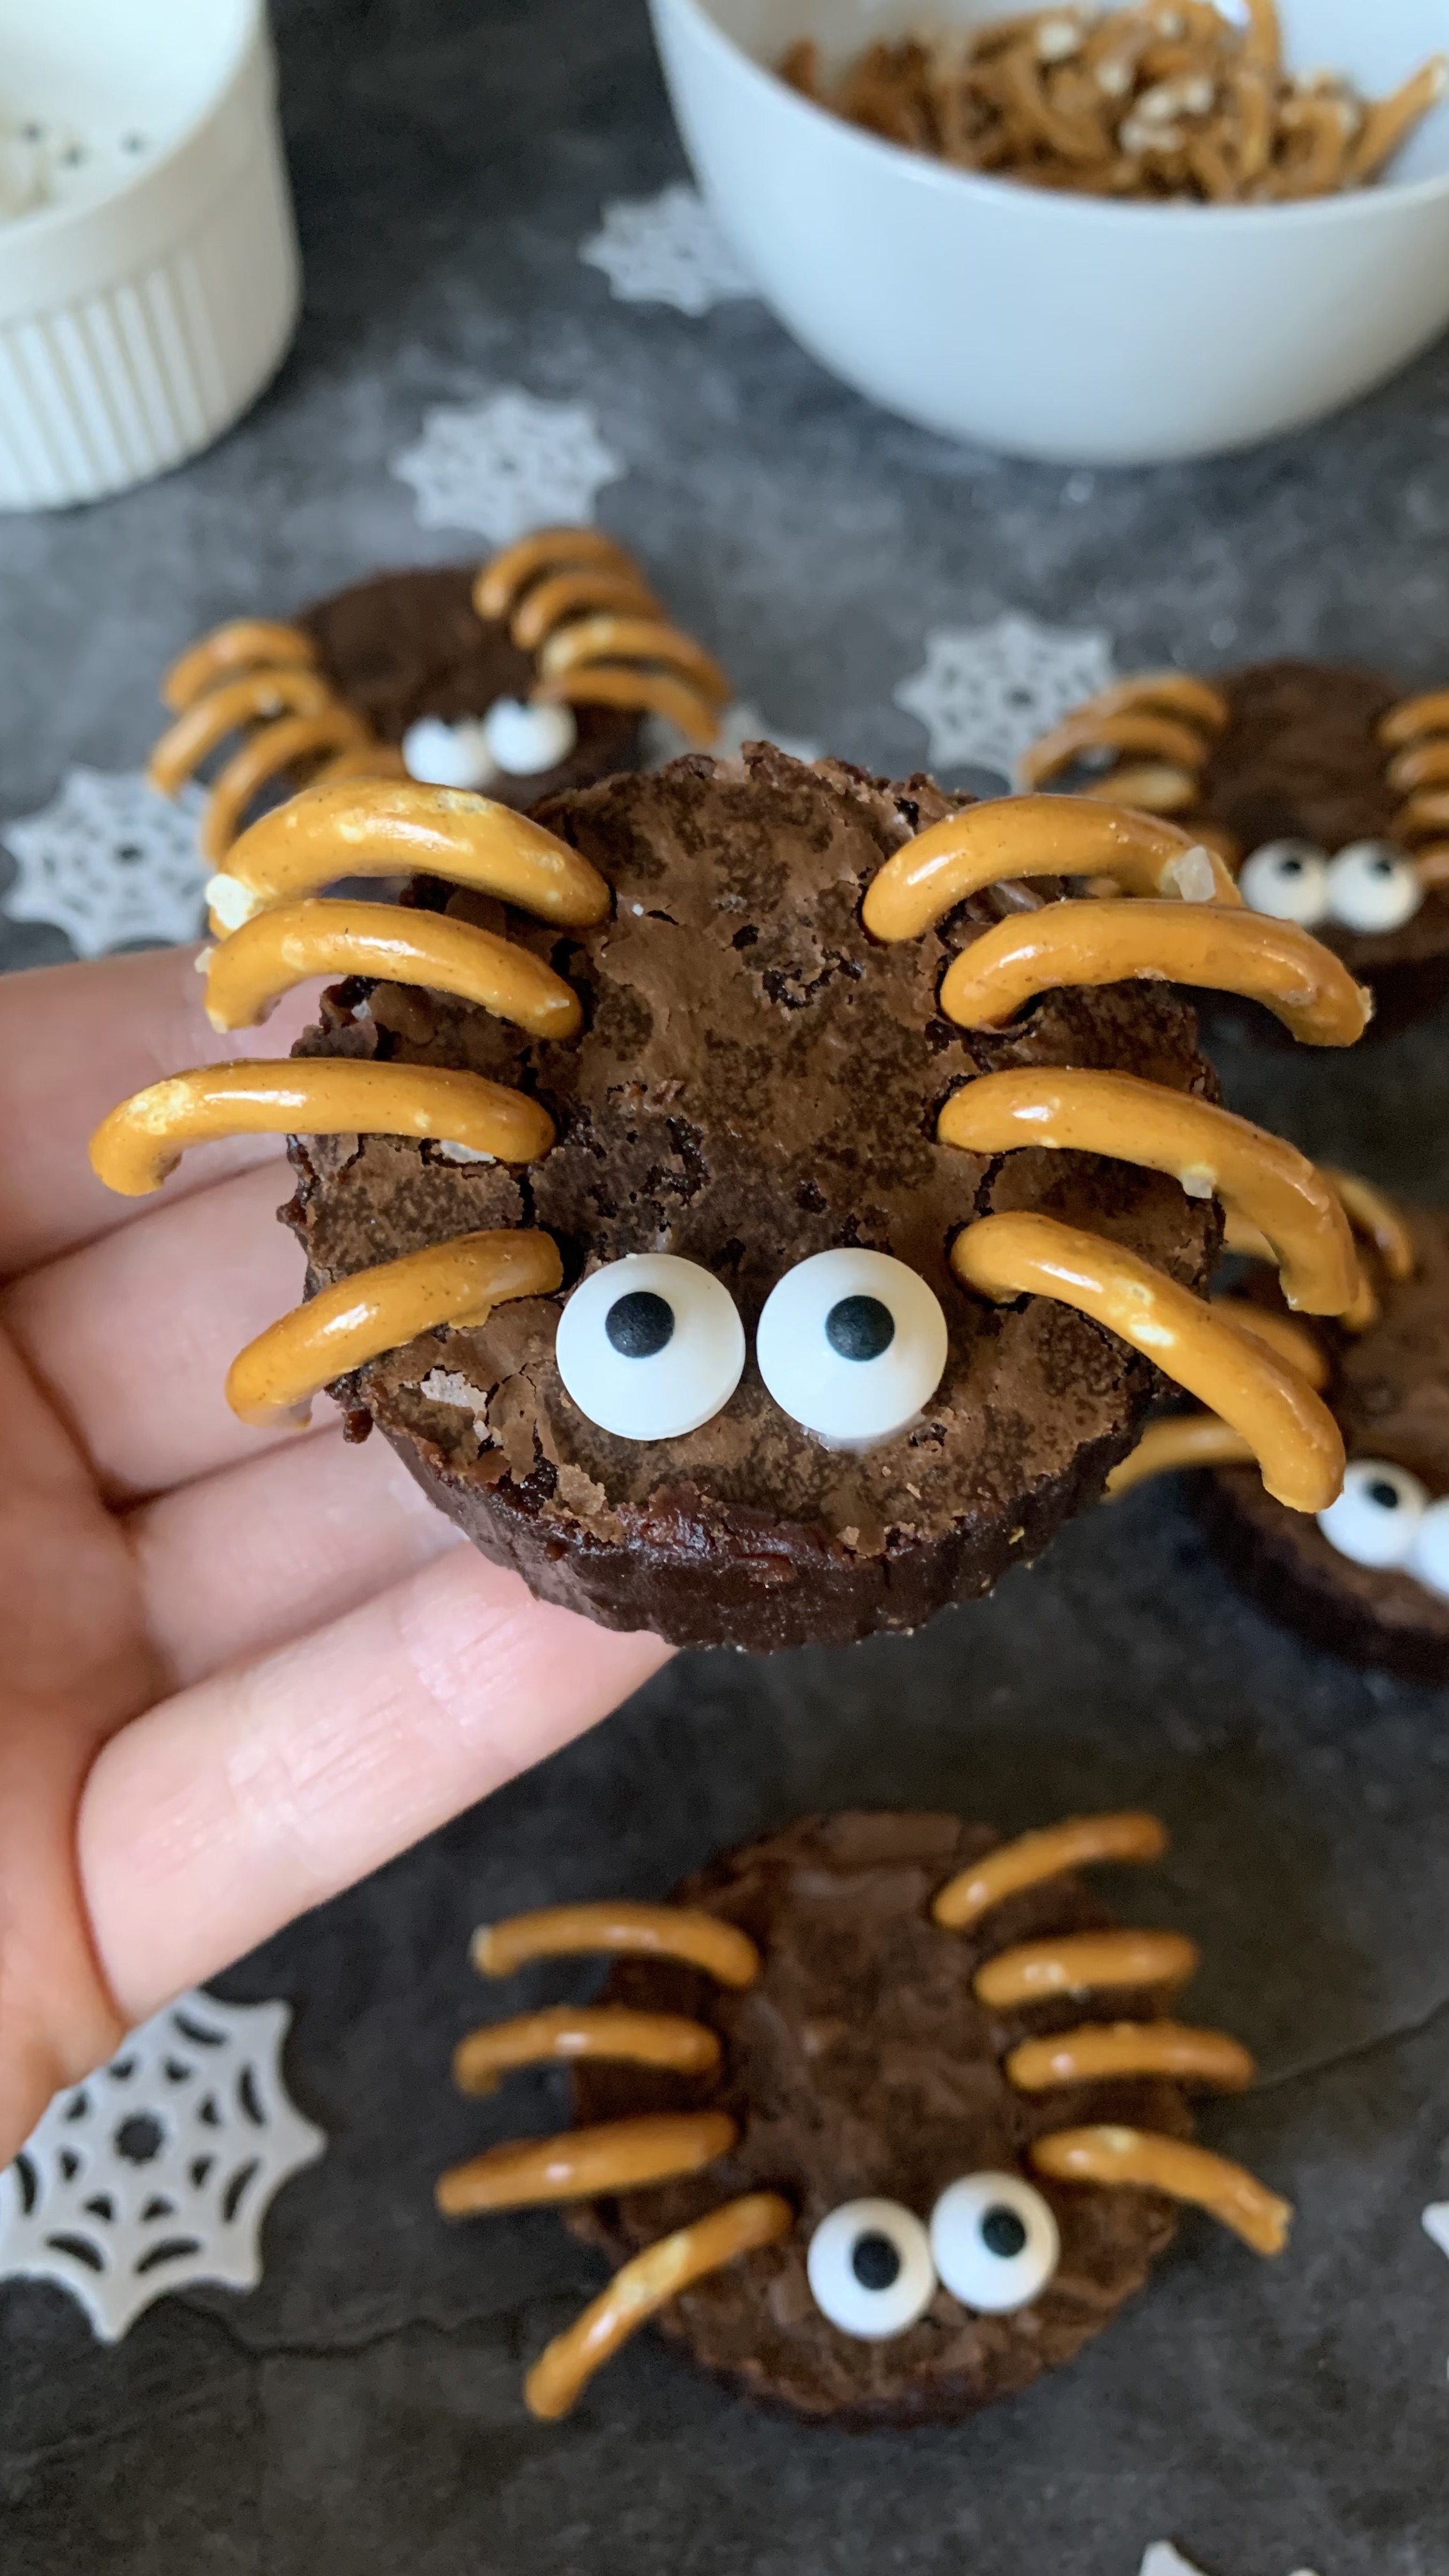
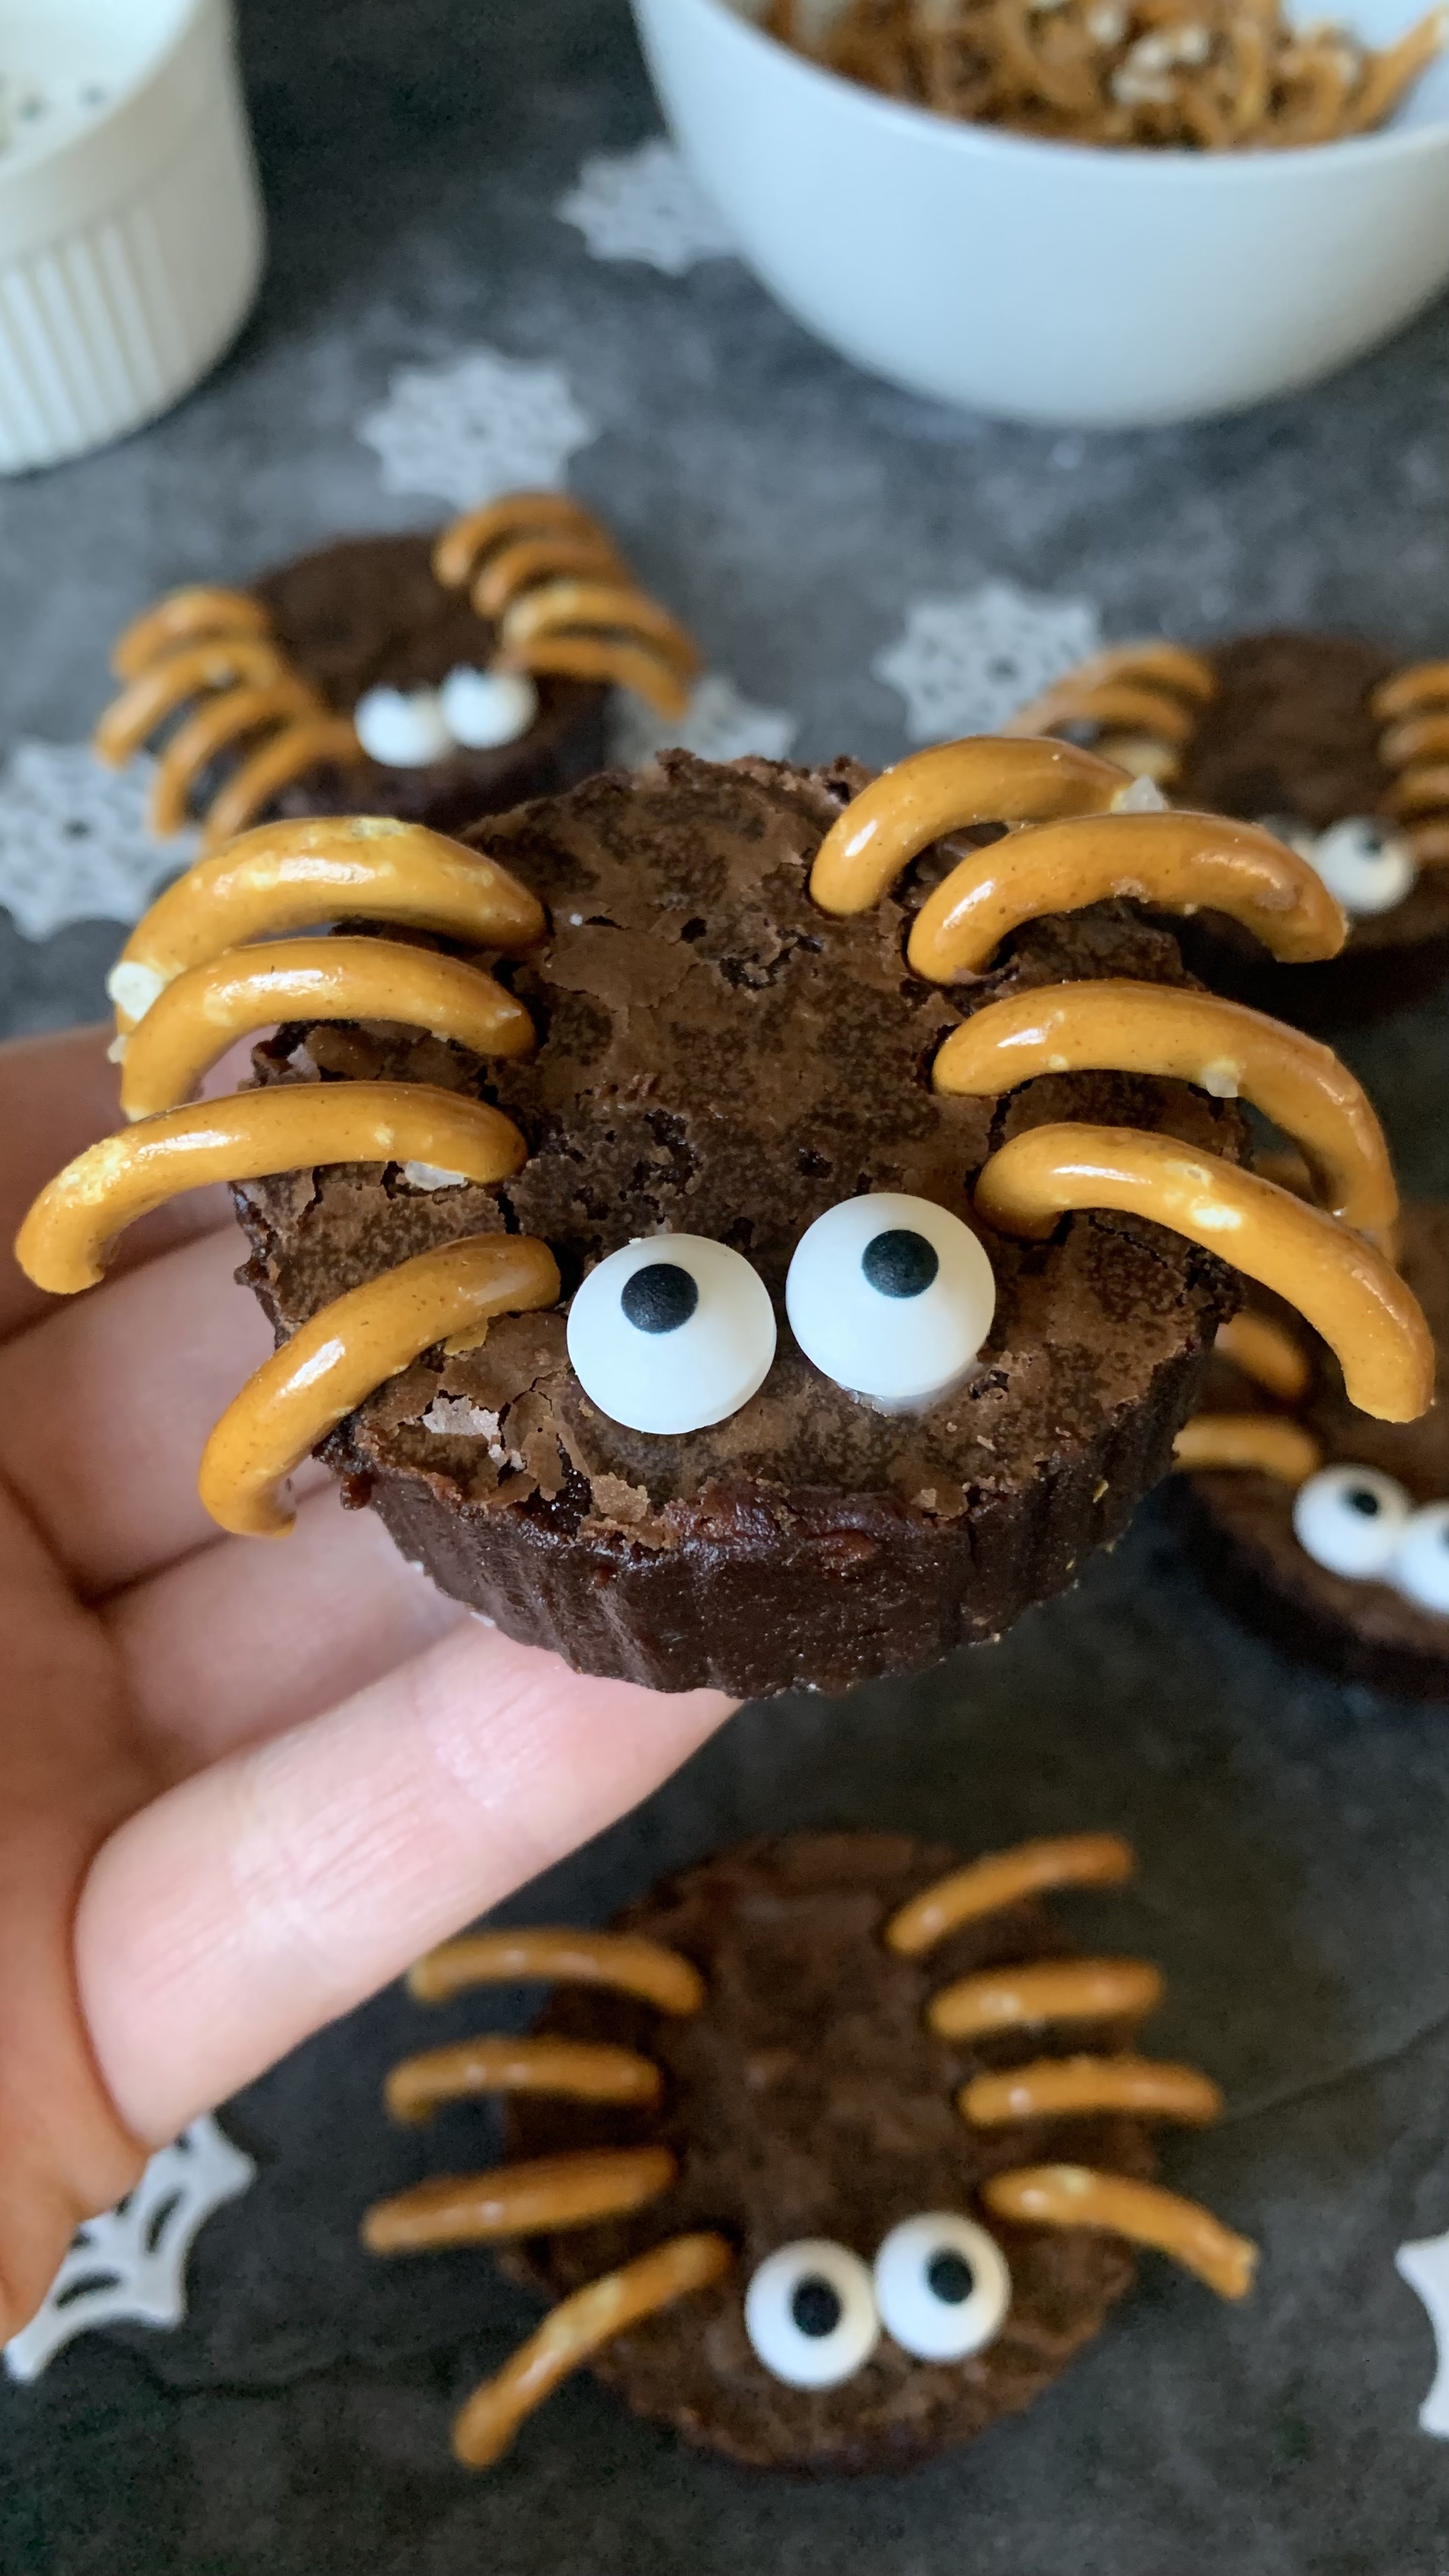
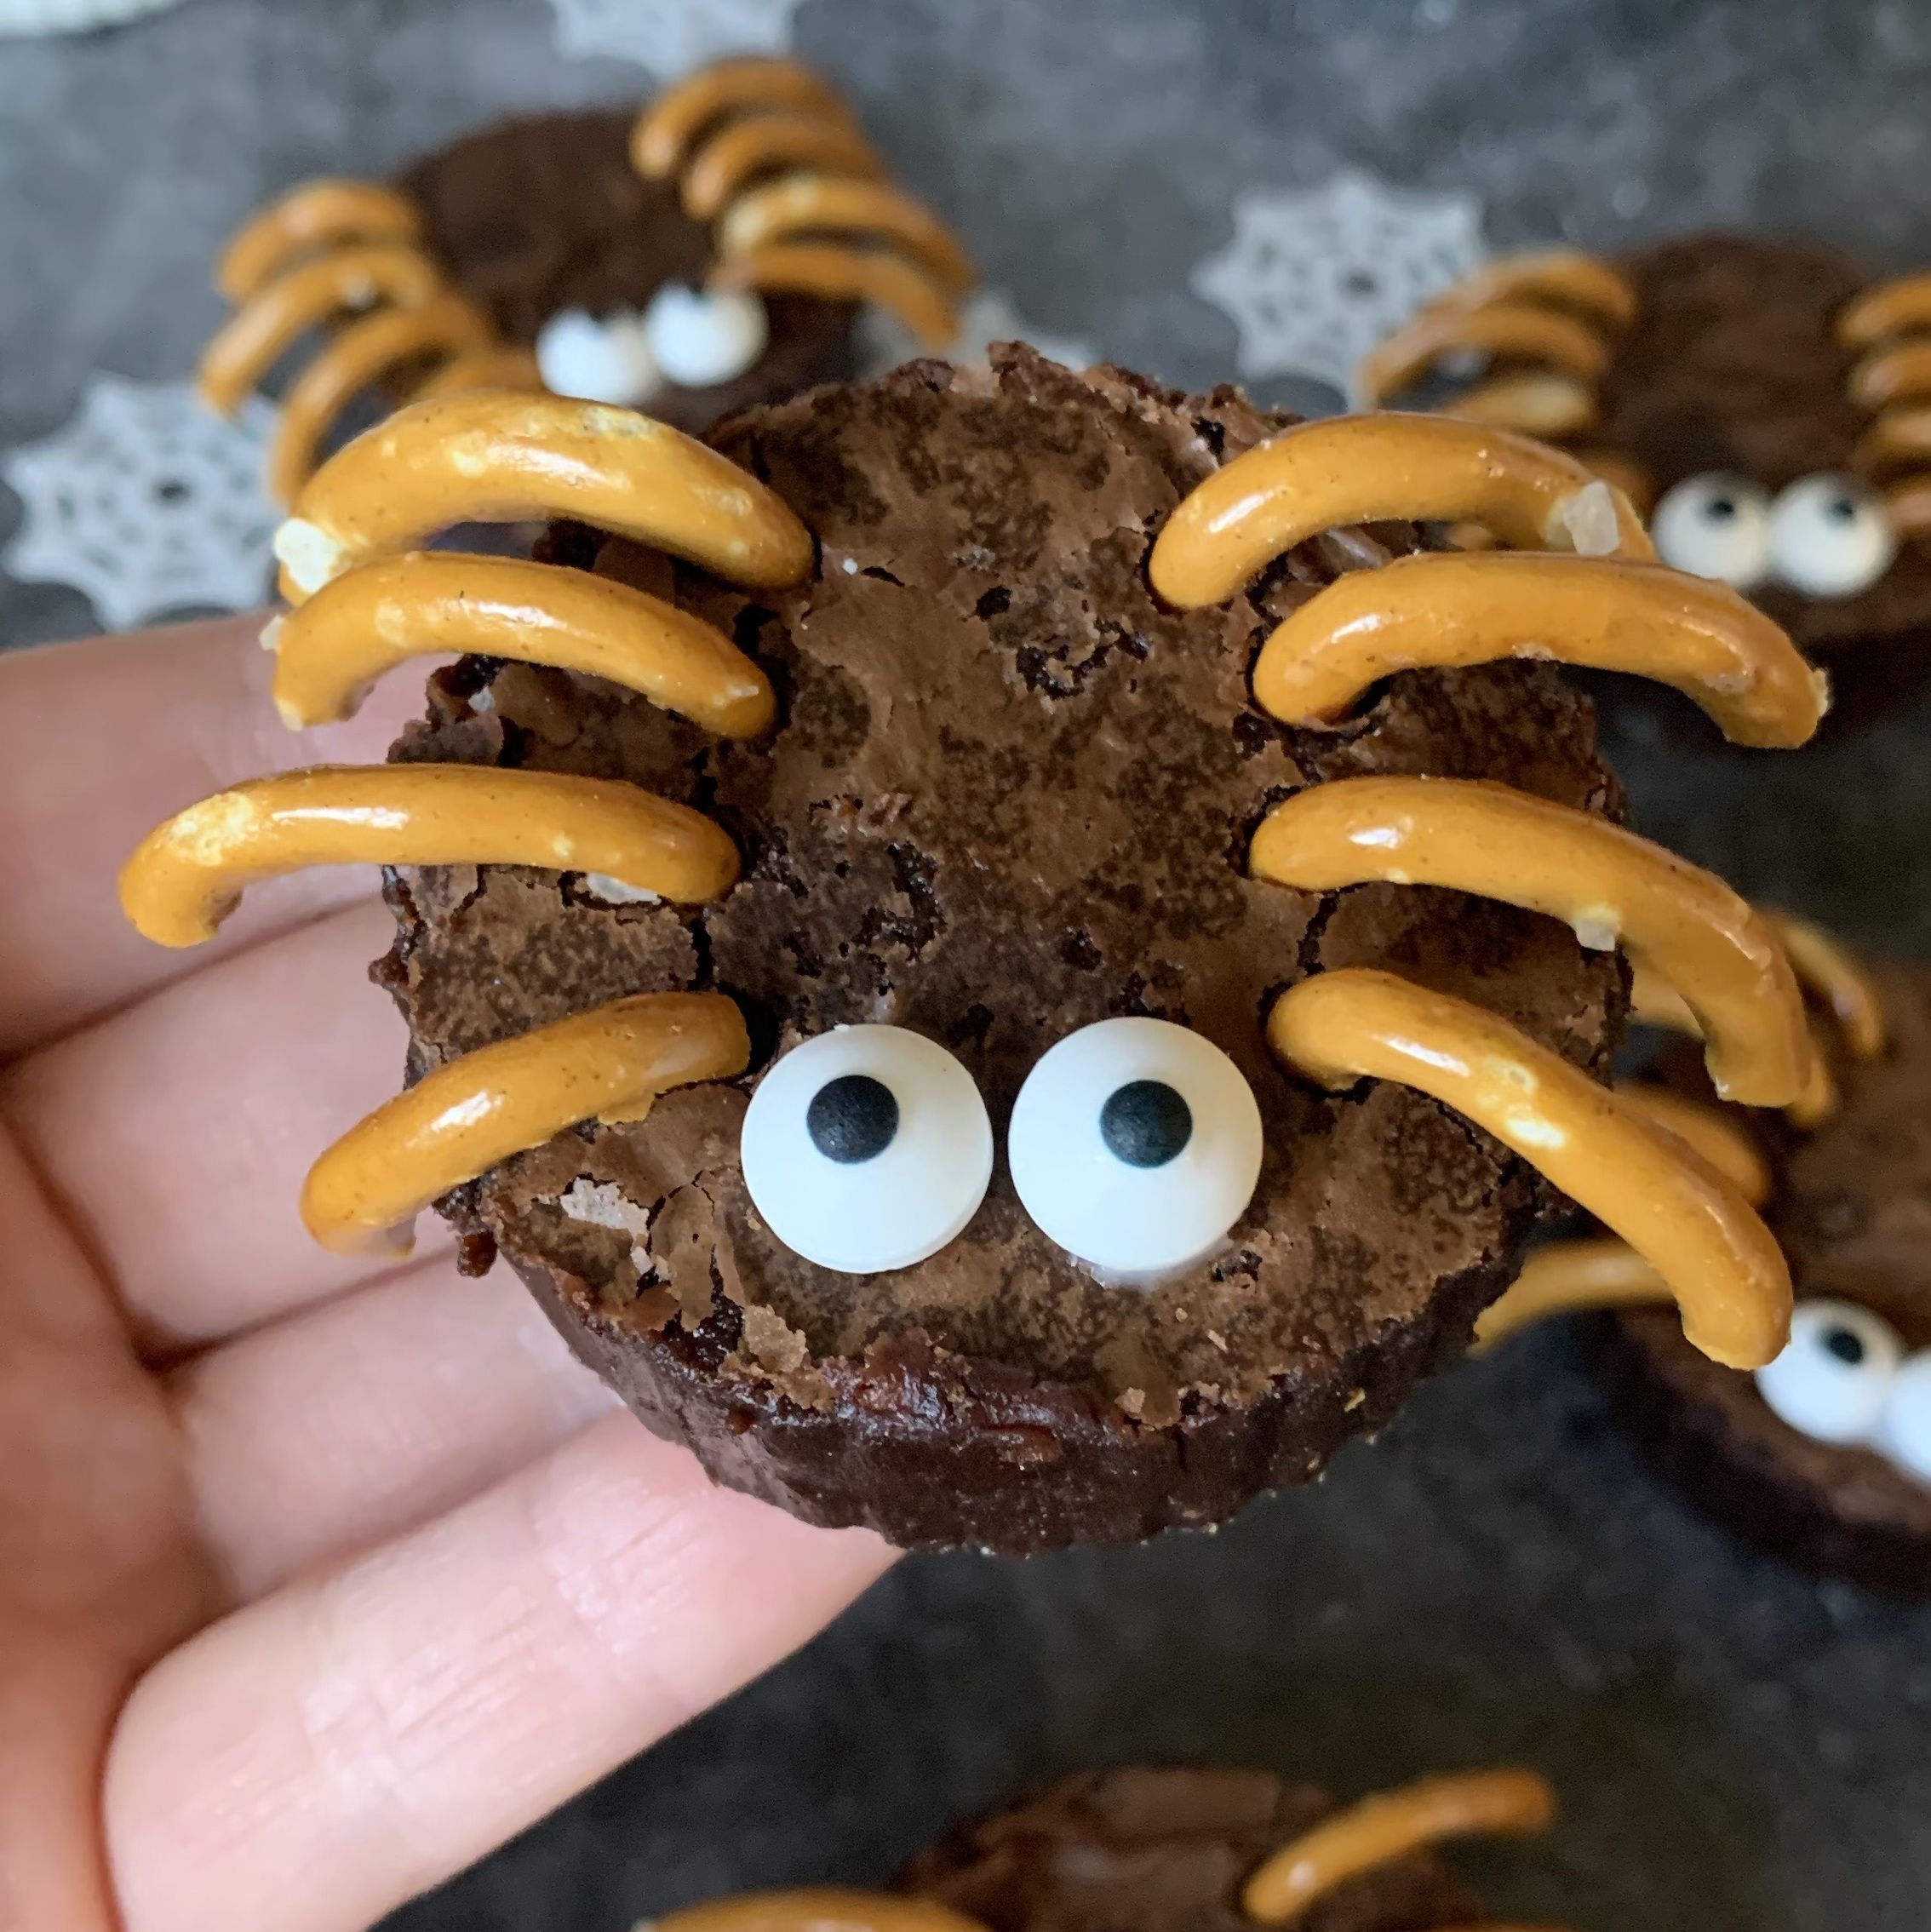
Deliciously fudgy, rich brownies in the shape of super spooky spiders! Easy and fun to make, these brownie spiders make for a fab Halloween bake!
Spider Brownies
October 22, 2022
Difficulty
Time 5+ hours (1 hour hands-on time, plus 4+ hours cooling). To speed things up to 30 mins use shop bought brownies.
Servings 9 spiders
- For the brownies
- 200g Unsalted Butter
- 300g Caster Sugar
- 200g Dark Chocolate
- 3 Large Eggs
- 100g Plain Flour
- 30g Cocoa Powder
- For constructing the spiders
- 5-6 teaspoons icing sugar
- 1-2 teaspoons water (I use cold water straight from the tap!)
- Salted Pretzels (I used a 150g bag and there was lots left over!)
- 18 edible eyes (I got mine from the brand Cake Décor, available in UK supermarkets!)
- For the brownies
- Grease and line a 9"x9" baking tin. Heat your oven to 180°C (350°F) standard / 160°C (320°F) fan.
- Break the dark chocolate in to chunks and then microwave it in 20 second bursts until smooth, set aside to allow to cool slightly.
- Melt the butter in the microwave in 20 seconds bursts until smooth, and then add the melted butter to a large bowl along with the caster sugar. Whisk (I used a hand whisk!) the melted butter and sugar together for 1 minute.
- Add the eggs one by one and whisk thoroughly. You should have a pale smooth mixture.
- Gently fold in the slightly cooled melted dark chocolate, and then sieve in the flour, and the cocoa powder. Fold the mixture until no flour pockets remain.
- Pour the mixture in to your lined baking tin and cook for 25-30 mins until the middle has a very slight wobble and a toothpick/skewer test has a few wet crumbs. Don’t overbake or it’ll lose its fudgeyness and become cakey!
- Once baked, leave your brownies to cool in the tin until they reach room temperature, then place in the fridge for 4+ hours, ideally overnight. This will help them become super fudgy and means they're easier to work with!
- For constructing the spiders
- Make the spider bodies: Take the brownies out of the fridge, and use a small circle cookie cutter (mine was 2inch / 5cm) to cut out the spider bodies! (Tip: warm the cookie cutter up under the hot tap and wipe dry after each use to prevent the cutter from sticking to the brownies!). Cut out 9 spider bodies, and place them on to a lined baking tray or lined large plate. You can eat any off-cuts! :)
- Make the spider legs: Take the pretzels and use a knife to carefully cut the top curved parts of the pretzels off to make the legs. Make enough to give each of the 9 spiders 8 legs! You may have a few casulties along the way, but approx a 150g bag of pretzels should give you enough to make the legs with lots left over! Once you have enough legs place them in to a bowl.
- Make icing sugar 'glue': Add the icing sugar and water to a bowl and mix until combined. You're looking for your icing to be thick so you can use it as glue - If your icing is a too thick add a small amount of extra water, if your icing is too thin add a small amount of extra icing sugar.
- Construct your spiders: Lay out the spider bodies, spider legs, icing sugar 'glue', and edible eyes in front of you. Take a spider body and gently press in 8 spider legs, using a little of the prepeared icing 'glue' if needed. Glue on the eyes using a small amount of icing sugar, and then place the completed spider back on to the lined baking tray / large plate. Repeat for all 9 spiders - serve immediately, or store in the fridge until they're ready to be eaten. Enjoy!
- - Once cooled, store your spider brownies in an airtight container in the fridge where they'll keep for up to 1 week.
- - I used edible eyes for the bats, but you could use chocolate buttons, chocolate chips, or an edible cake pen to add the eyes!
- - I used a simple icing made from icing sugar and water to help the spider legs and eyes stick, but you could use melted chocolate! 50g should be plenty.
- I made my own brownies for the spider bodies, but you could use shop bought brownies or brownie bites to help speed things up!
- *I earn a small amount of money if you buy the products after clicking the links. You will not be charged extra for this. Thank you for your support!
Ingredients
Method
Notes
Recommended Equipment and Ingredients*
